How Do You Fill Small Holes in a Fiberglass Body?
Moderator: Ken
7 posts
• Page 1 of 1
How Do You Fill Small Holes in a Fiberglass Body?
![]() by Don » 01 Thu Oct, 2009 9:31 am
by Don » 01 Thu Oct, 2009 9:31 am
Drill holes, 1/8" to 1/4", lots of them. I have an old body I want to practice some fiberglass repairs on.
1967 Dune Buggy - aka Shrek
-

Don - Buggy Nut
- Posts: 180
- Joined: 06 Mon Aug, 2007 7:55 pm
- Location: Pearland
![]() by jspbtown » 01 Thu Oct, 2009 9:42 am
by jspbtown » 01 Thu Oct, 2009 9:42 am
There are a couple of schools of thought. Both of them involve tapering the holes.
Some people taper the holes and fill with a fiberglass reinforced short strand filler.
Some people taper and fill with a slurry of chopped fiberglass matt and resin.
I personally like the resin method. Applied properly you will need minimal if any filler.
For tapering the hole I have used a little 2" rotoloc disc, enlarging the overall size of the hole to about 1". I have also used a 4"grinder and made the hole more elongated in appearance. Both have worked.
The key is the taper. Don't worry about making them larger.
If you wondering if you can just fill them as is....then the answer is no. They will spot through or crack.
I know its a big job....but this is really the only way to do it.
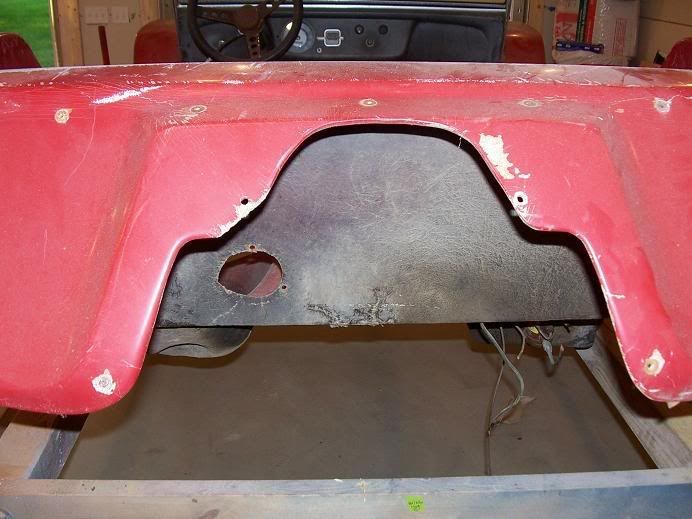
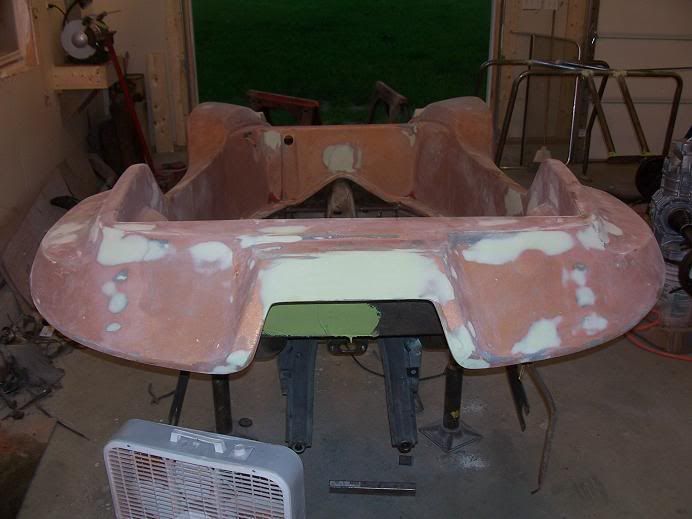
This is the method I used here:
Some people taper the holes and fill with a fiberglass reinforced short strand filler.
Some people taper and fill with a slurry of chopped fiberglass matt and resin.
I personally like the resin method. Applied properly you will need minimal if any filler.
For tapering the hole I have used a little 2" rotoloc disc, enlarging the overall size of the hole to about 1". I have also used a 4"grinder and made the hole more elongated in appearance. Both have worked.
The key is the taper. Don't worry about making them larger.
If you wondering if you can just fill them as is....then the answer is no. They will spot through or crack.
I know its a big job....but this is really the only way to do it.
This is the method I used here:
- jspbtown
- Buggyholic
- Posts: 250
- Joined: 26 Wed Dec, 2007 9:57 am
![]() by CoryN » 01 Thu Oct, 2009 12:02 pm
by CoryN » 01 Thu Oct, 2009 12:02 pm
I put all my scraps in a dixie cup and cut it all up into fine shreds with a scissors and then mixed in resin in the cup. Made a nice paste that didn't run and I went to town with it.
- CoryN
- Buggyholic
- Posts: 1108
- Joined: 30 Wed Jan, 2008 12:11 pm
- Location: McKinney, Texas
![]() by jspbtown » 01 Thu Oct, 2009 12:21 pm
by jspbtown » 01 Thu Oct, 2009 12:21 pm
I personally like those little foil pans they make little bread loafs or meatloaf out of. I think they may be 3"x6". They are nice and sturdy and those little white disposable brushes work well with them.
I get them for 23 cents each.
I get them for 23 cents each.
- jspbtown
- Buggyholic
- Posts: 250
- Joined: 26 Wed Dec, 2007 9:57 am
![]() by Fred » 01 Thu Oct, 2009 8:50 pm
by Fred » 01 Thu Oct, 2009 8:50 pm
I found that you should do all of your sanding- grinding and glassing from the back. I ground out to bare glass and applied the glass from the UNDERSIDE of the repair cause if you patch from the cosmetic side you get pinholes and stuff that never ends from under the gelcoat. Once you patch from the back it takes minimal bondo and leaves a very small repair area on the pretty side!!
One step forward, Two steps back!!
- Fred
- Buggy Nut
- Posts: 120
- Joined: 05 Mon Jan, 2009 7:55 pm
- Location: Tyler TX
7 posts
• Page 1 of 1
Who is online
Users browsing this forum: No registered users and 5 guests