So after driving on the street and doing some off roading even with its street tires and super low I decided I wanted to go to the dual sport side and raise it and have more off road fun.
Since then I have had lots of fun and I have got back in the garage to make more upgrades and changes I will post some pics of my 1st build and then I will start making new post of the current upgrades.
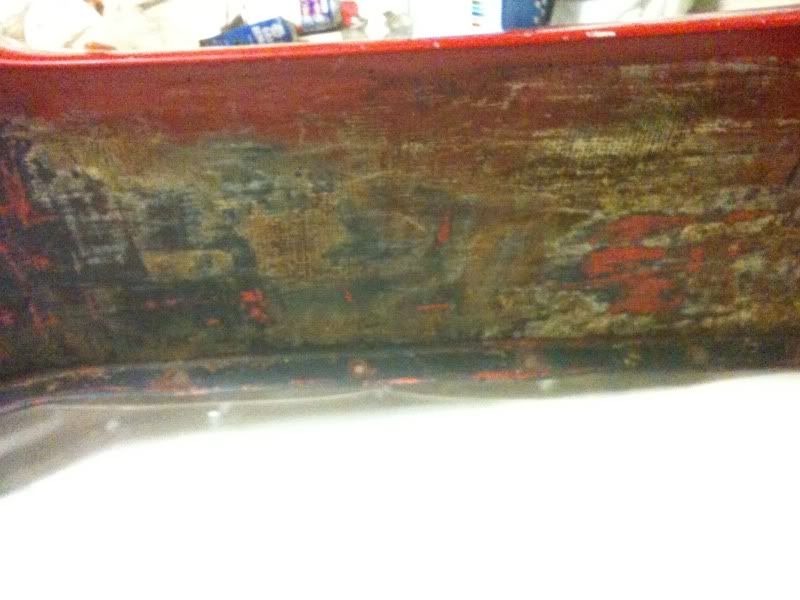
So it looks like my body is a B&N Terantula
http://www.dunebuggyarchives.com/forum/ ... l?tid=1458
here are my original build pics
The body looks to be a Terantula
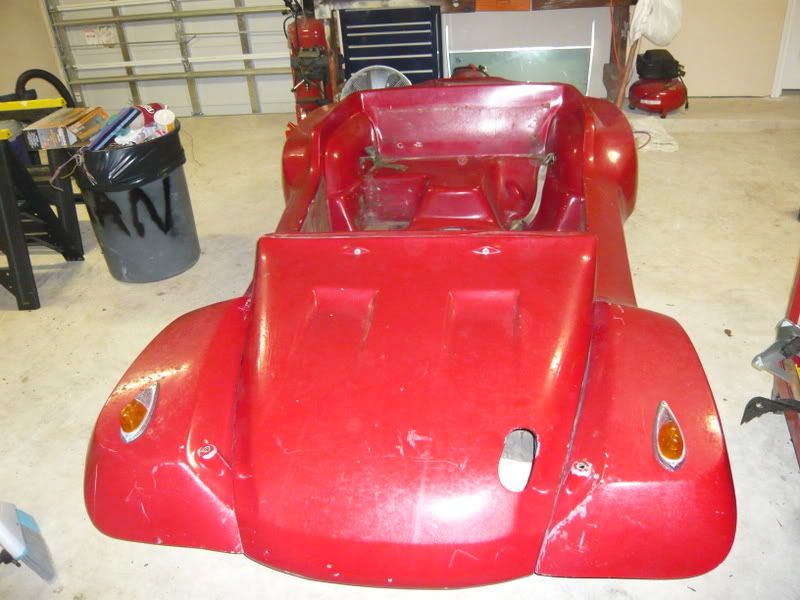
I decided to take my baja bug and make it a glass buggy. I do not have any pics of the baja on this PC.
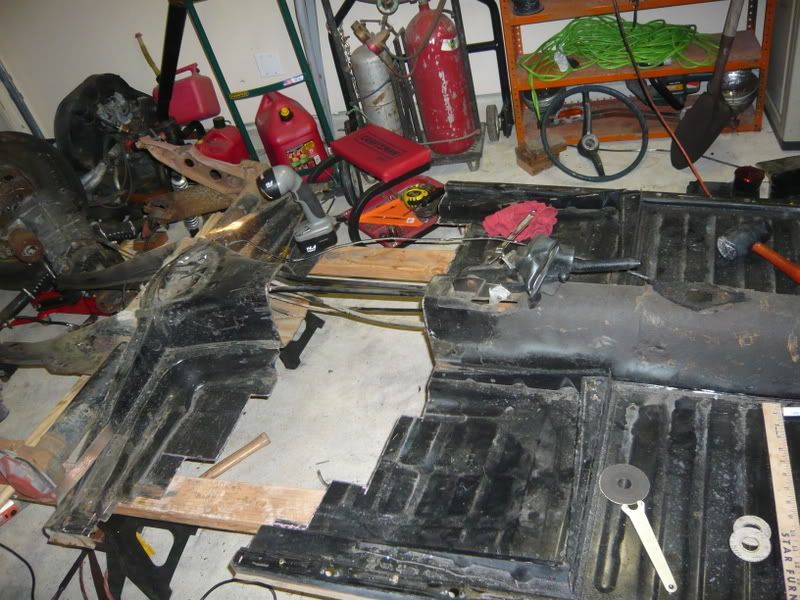
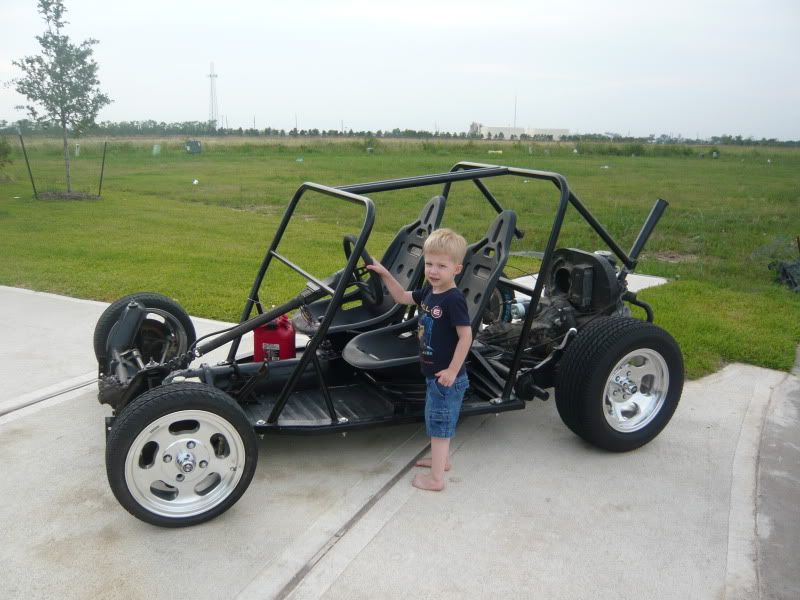
So I bought a buggy that had a chasis that was rusted and simply junk and stripped the body from it.
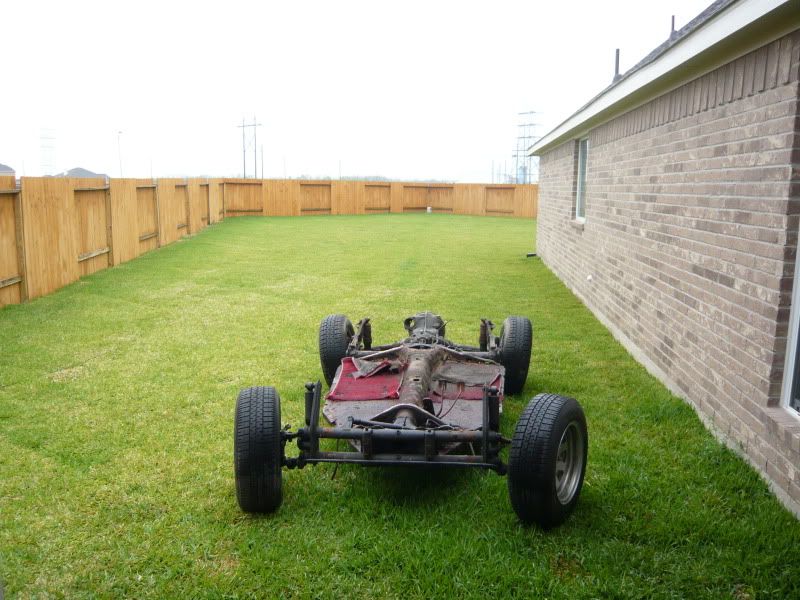
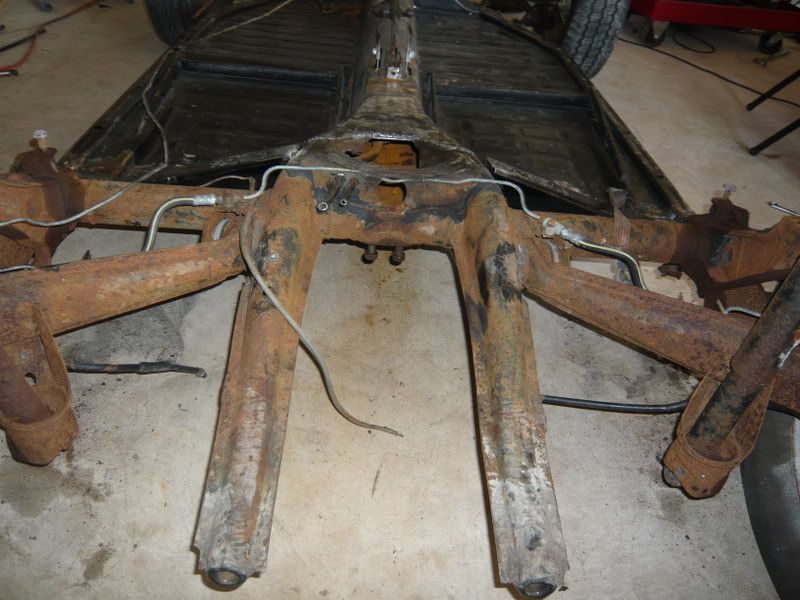
here is the chasis not a close up but you may be able to see it
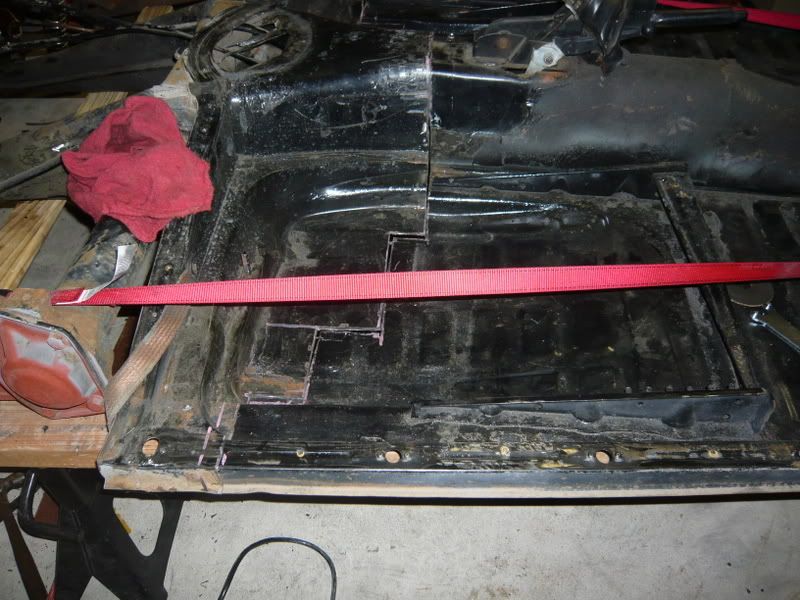
So I stripped my baja
cut it up.
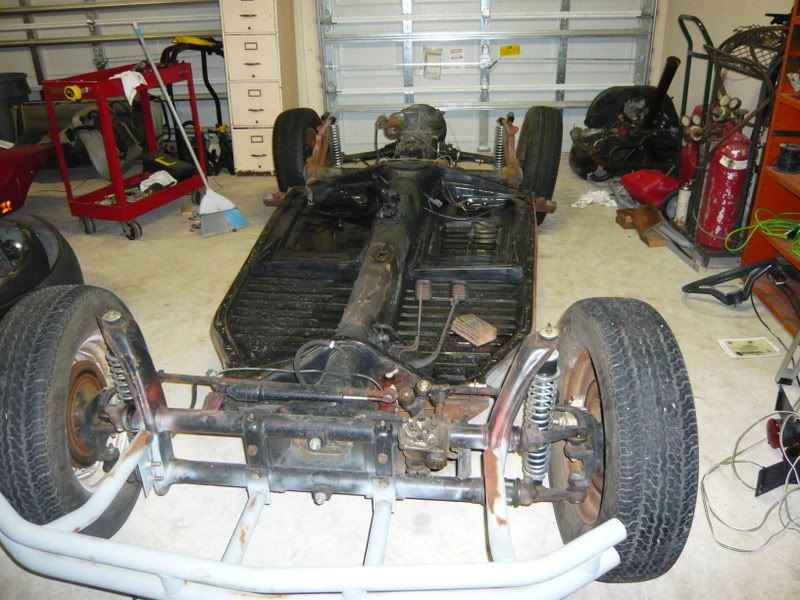
Bought a IRS rear section aligned and welded it on
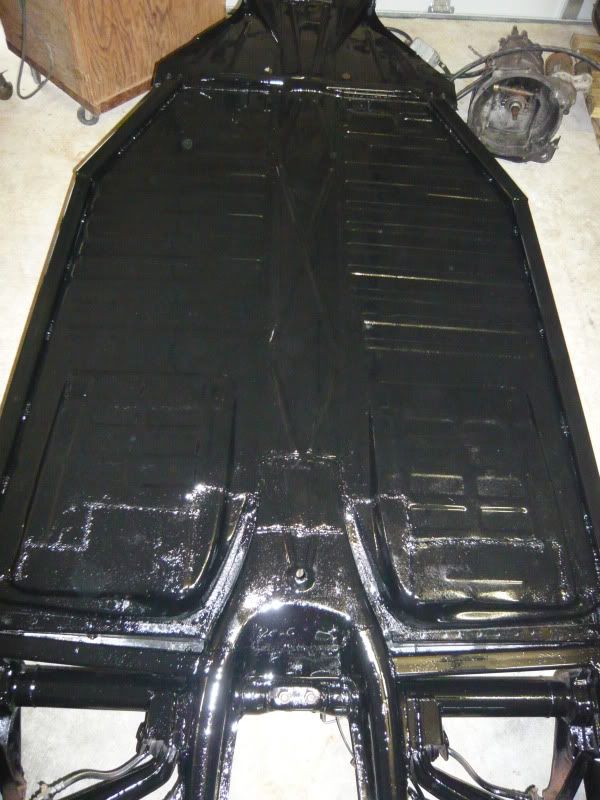
Reinforced the pan with 1.5 squar tubeing all the way around tied it in to rear torsin and front frame head this thing is solid as a rock.
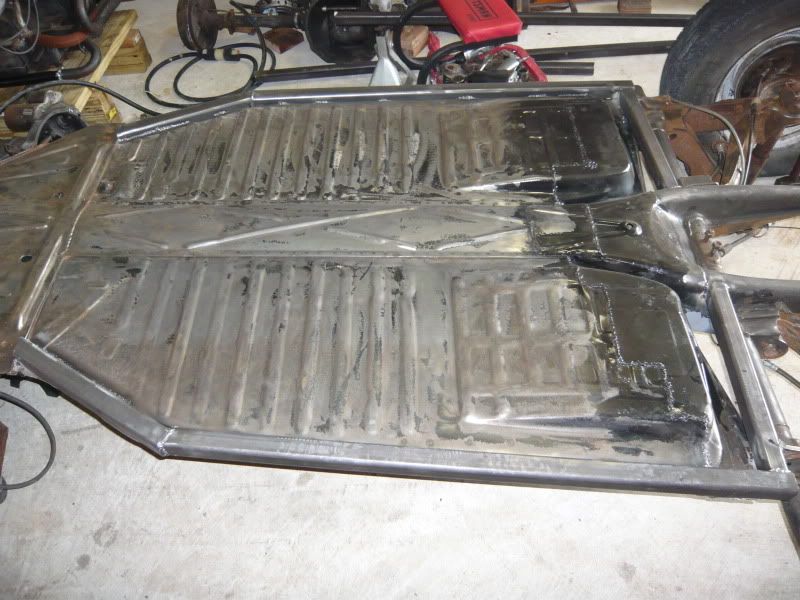
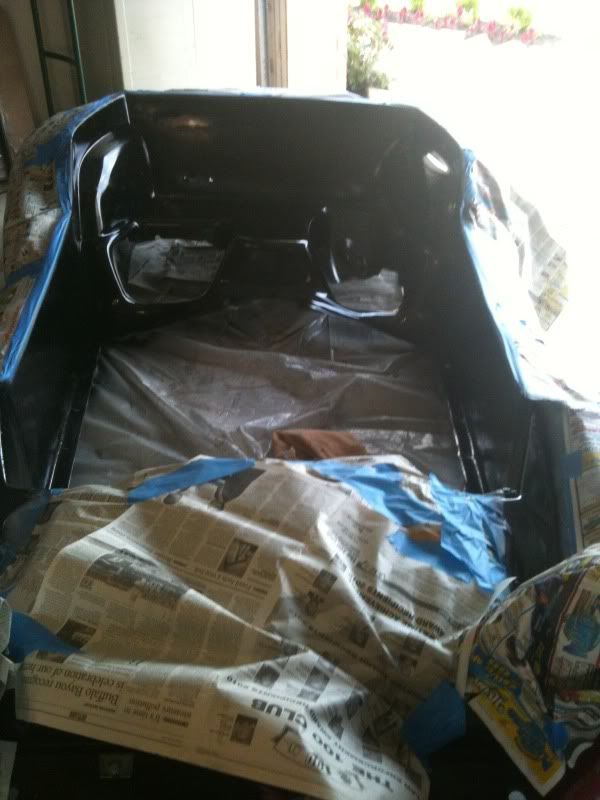
painted it
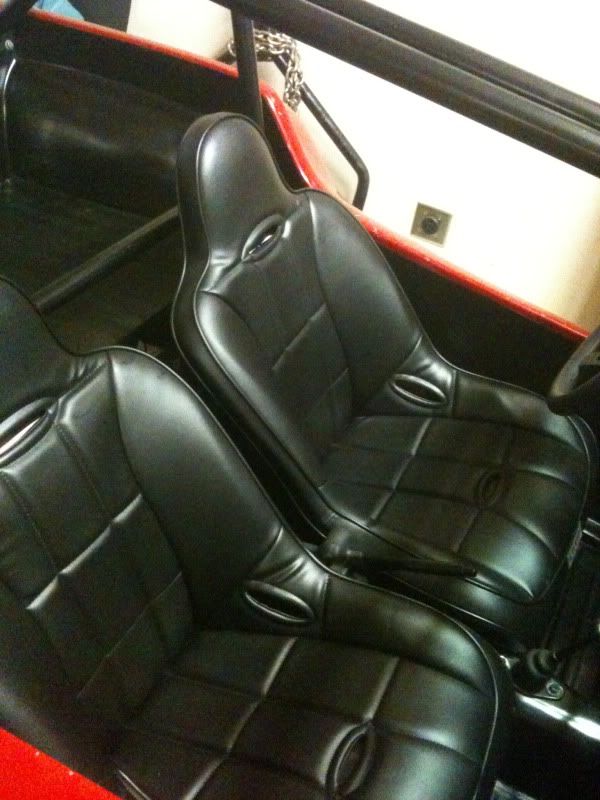
Fabed up some seat frames and did the brake shortend lines installed trans and engine new brakes all the way around disc in the front new rear wheel bearings and a whole lot more
but it all together
sent it to Texas buggys to build a cage since I am not able to do that
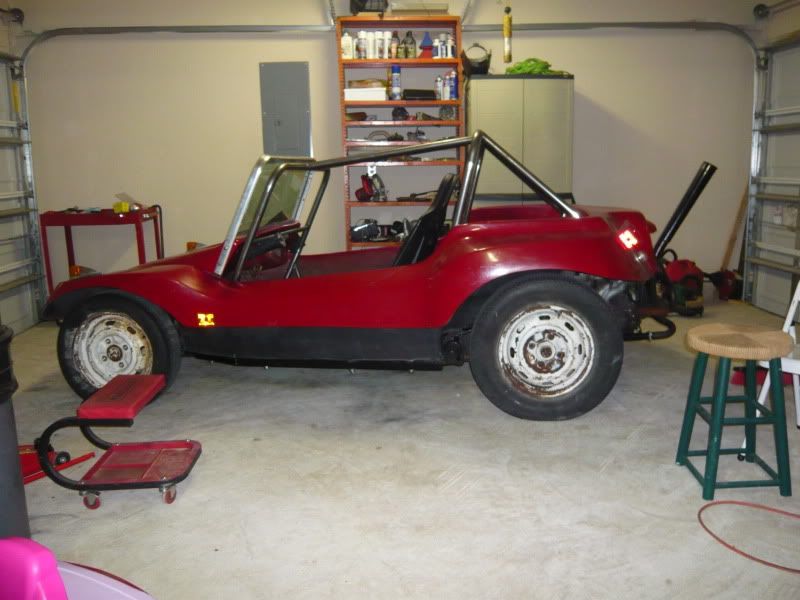
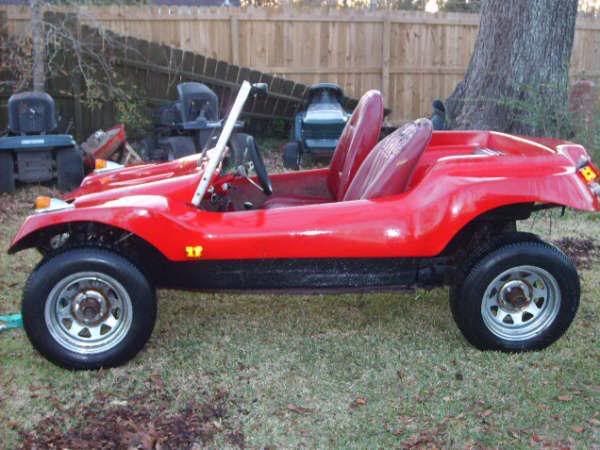
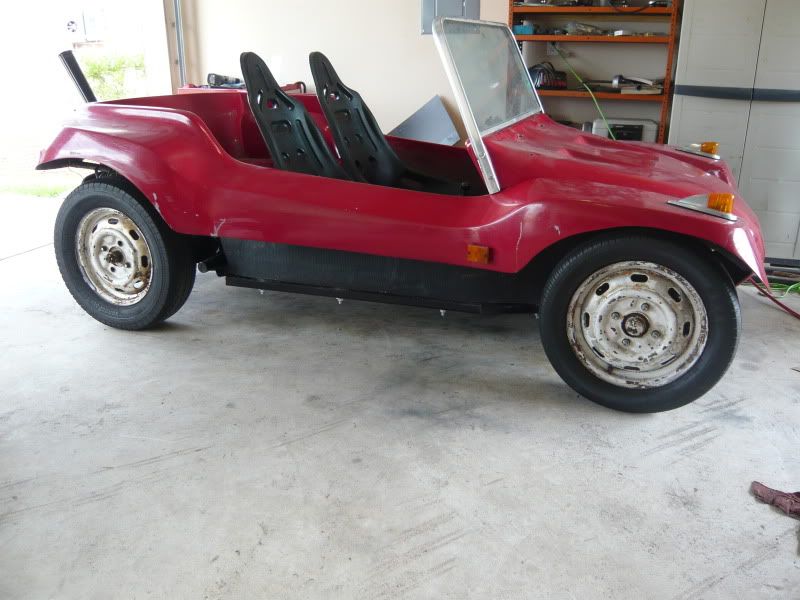
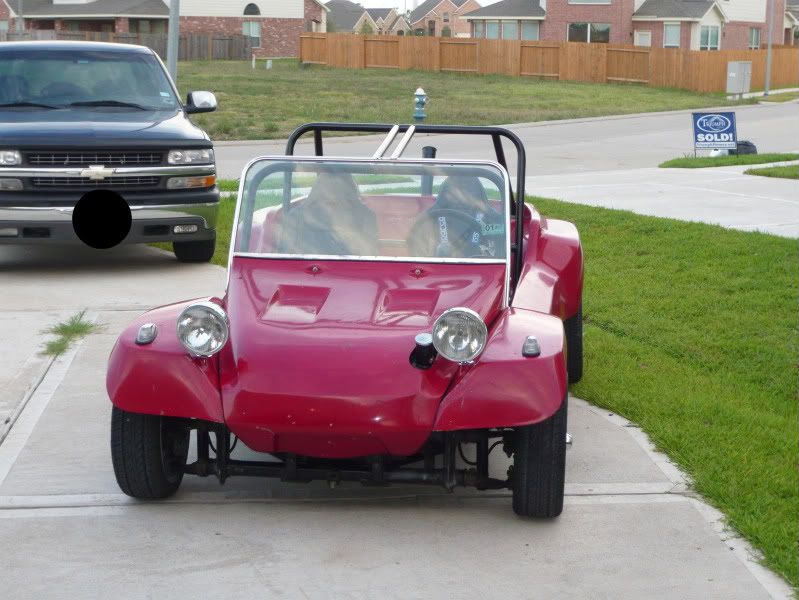
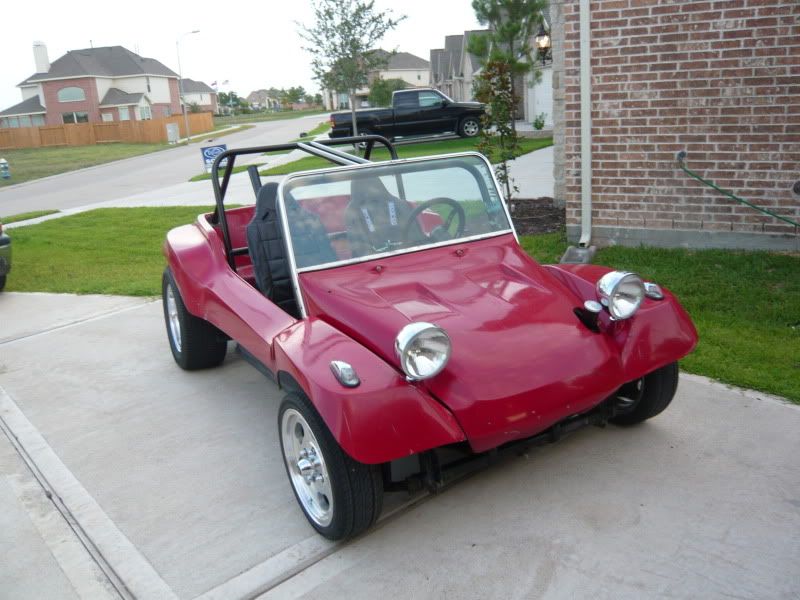
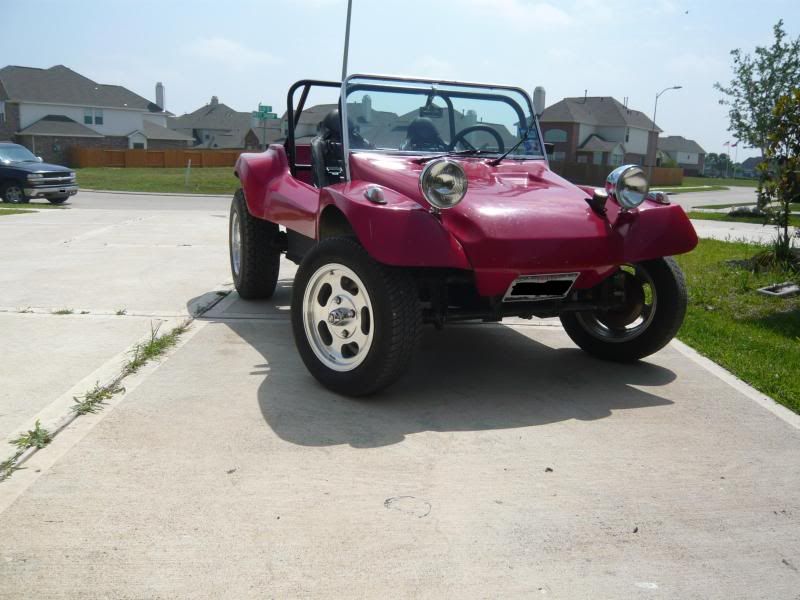
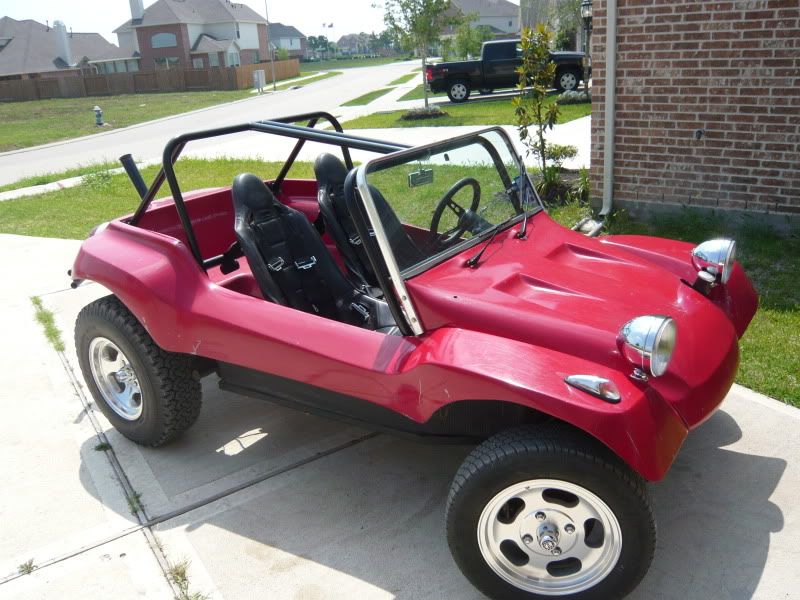
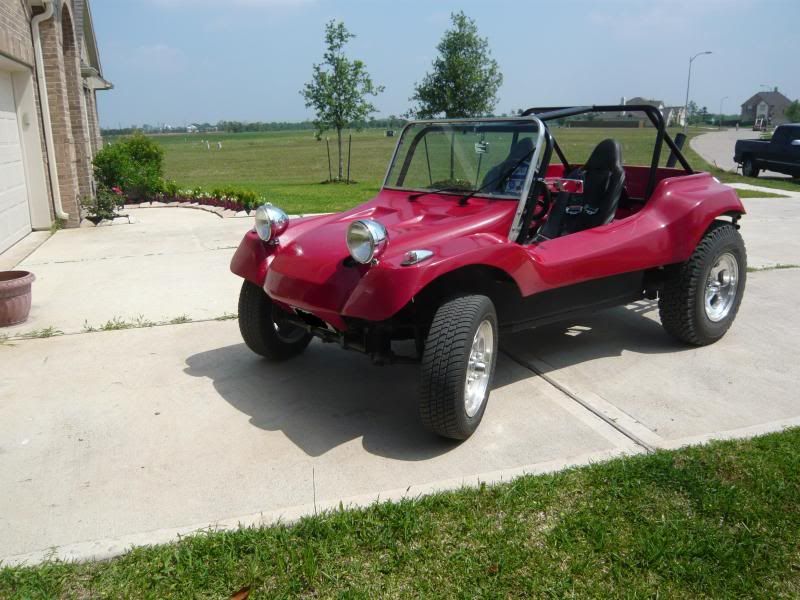
well after all that I painted the roll bar got some seat belts mirros and buch of other small stuff here are some of the pics when it was close to being street legal.
I always liked these pics
This was the almost finished lower version of my build.
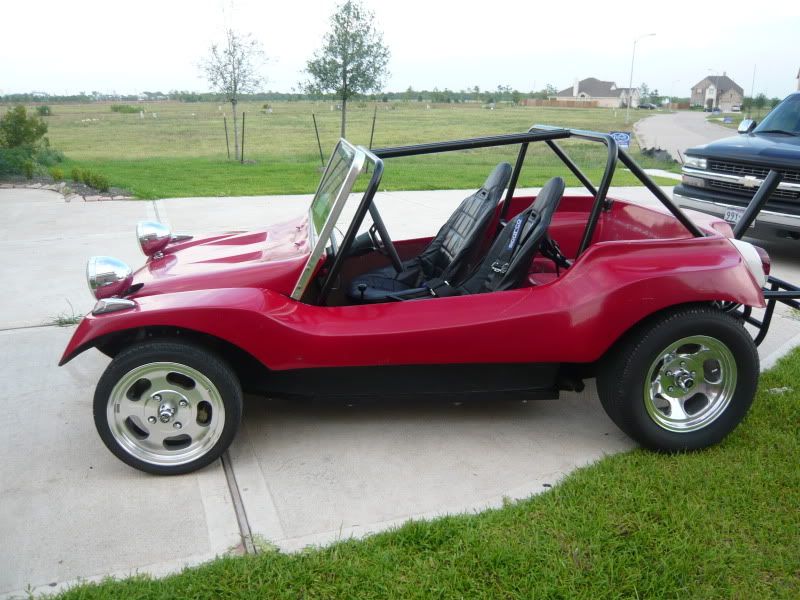
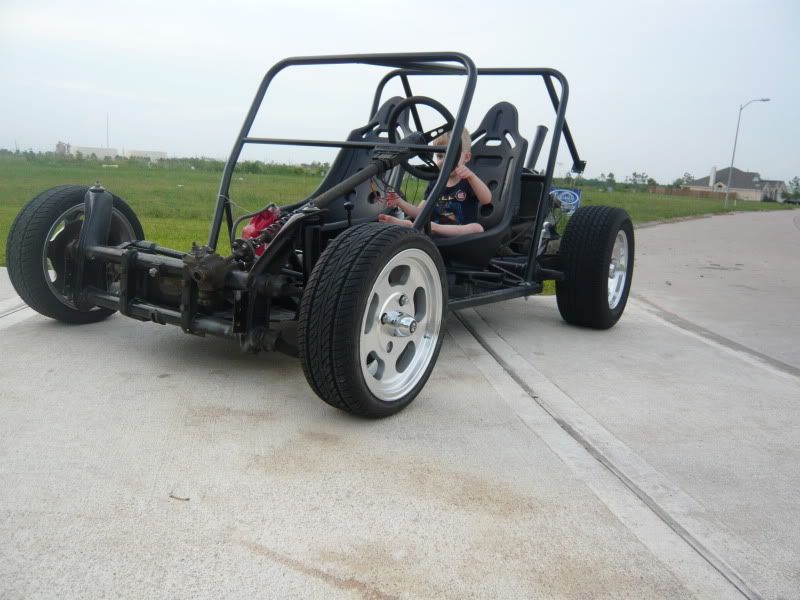
So as much as I liked the lowered street version I had sooooo much more fun off road
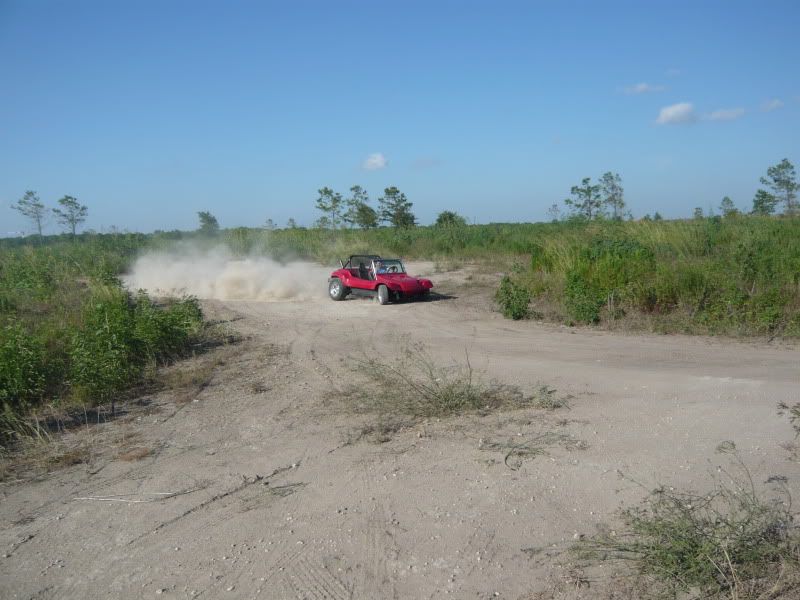
So I raised it
Here are those pics they are current but I did not wash it so its dirty

 [/quote]
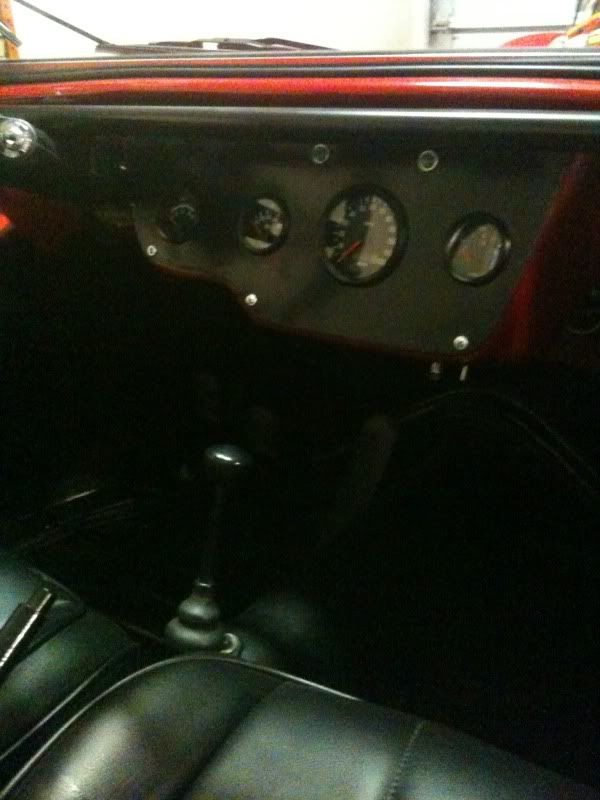


 [/quote]


