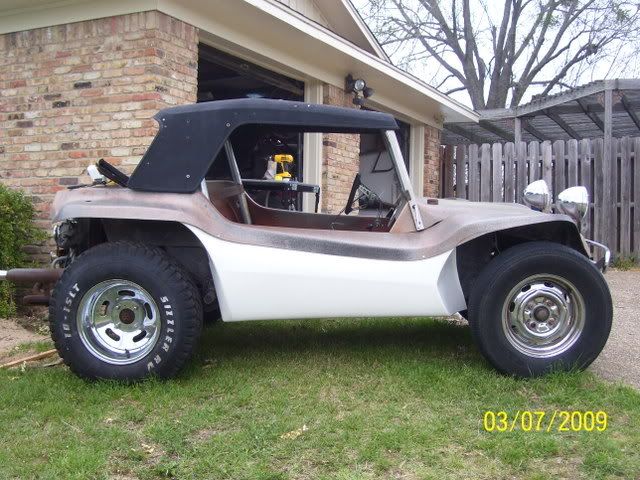
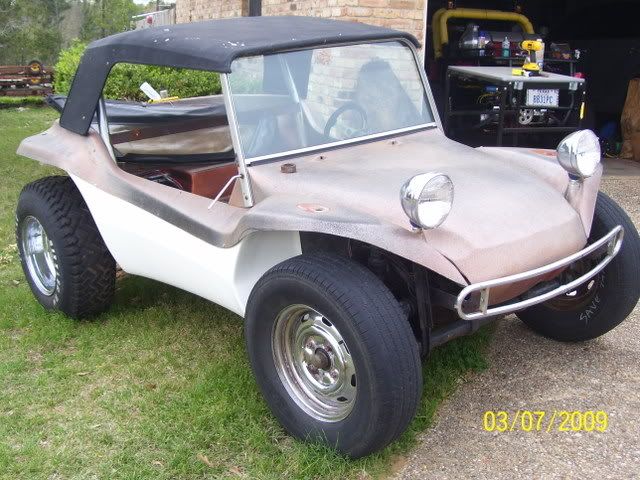
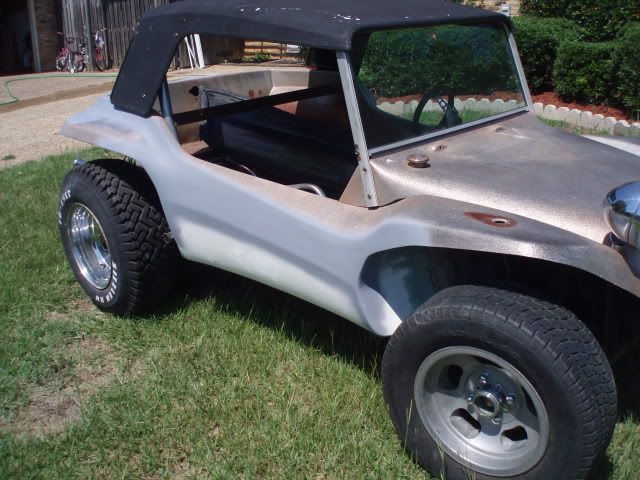
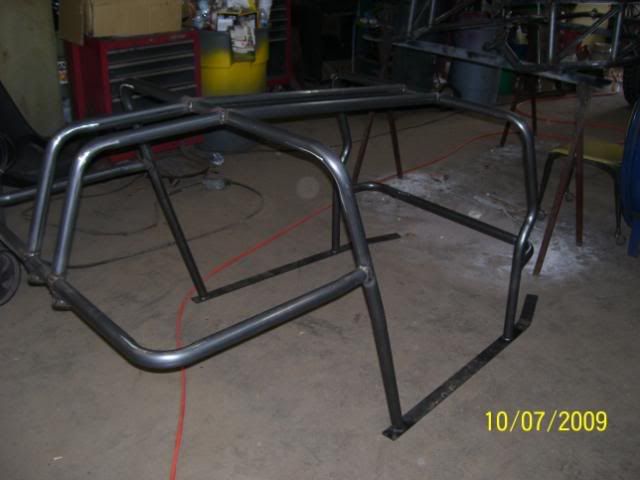
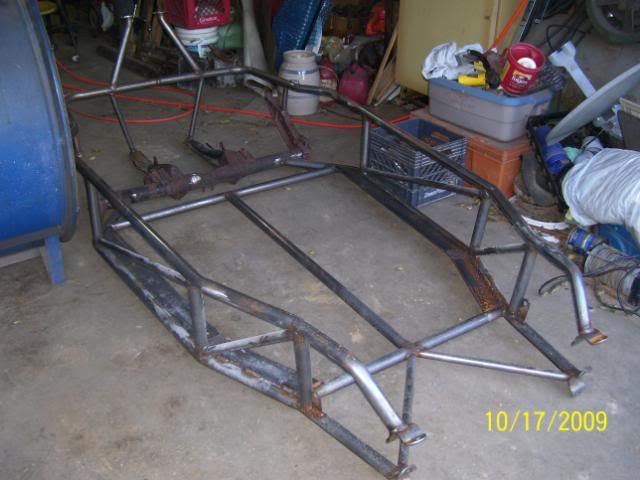
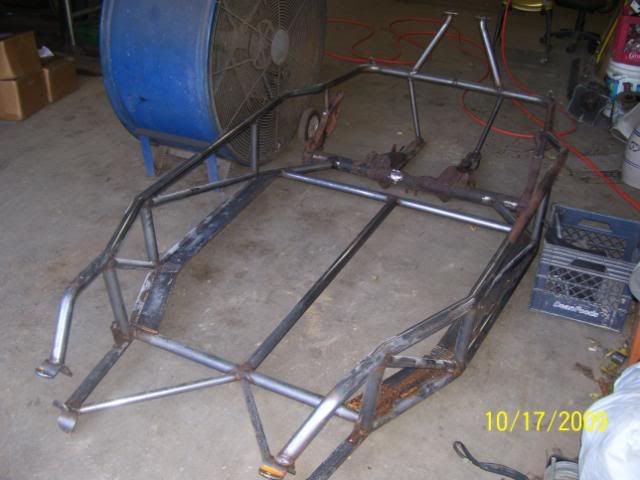
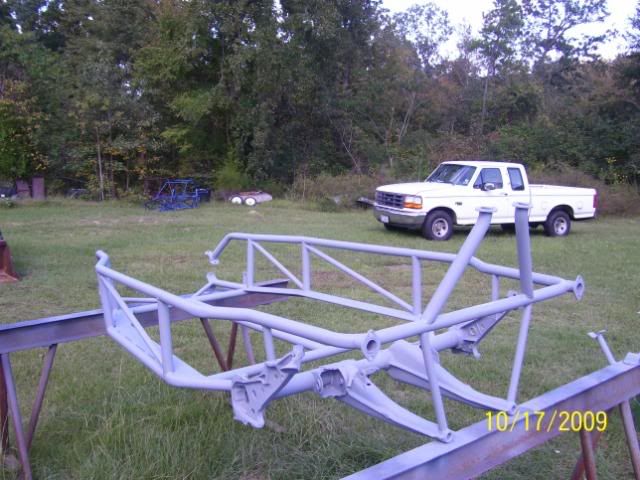
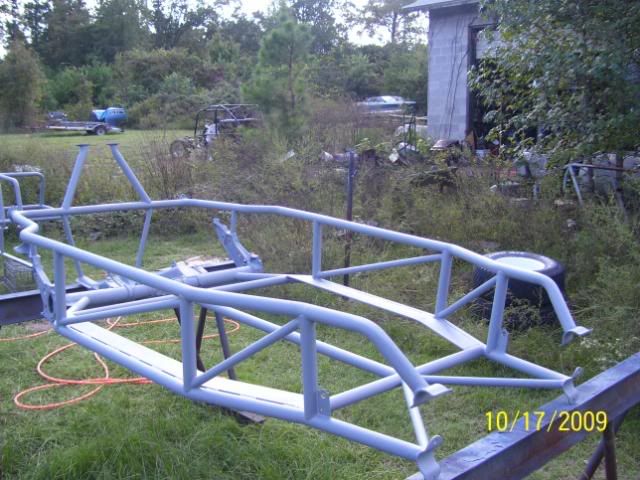
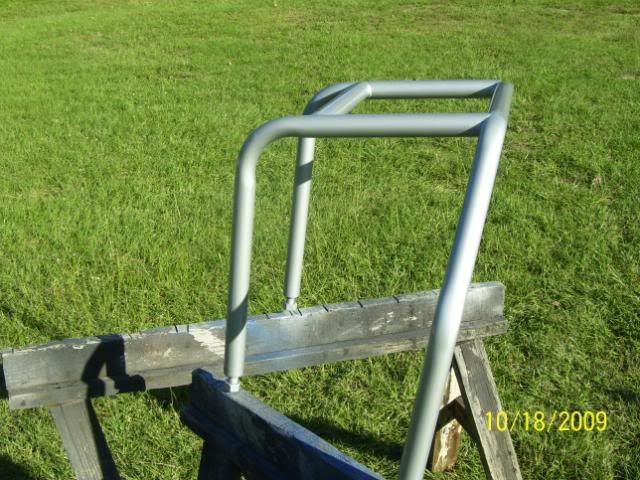
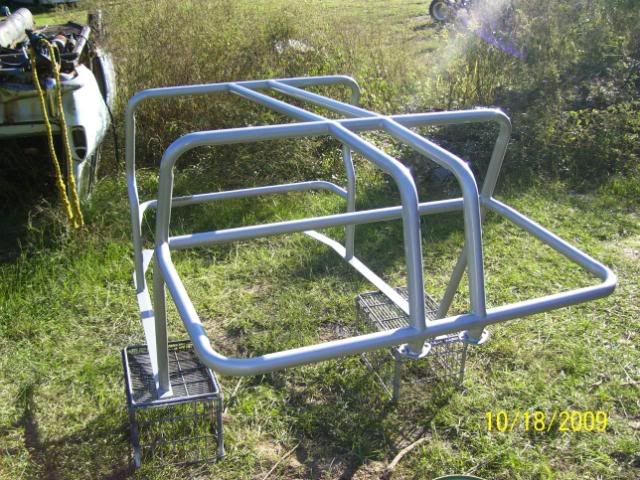
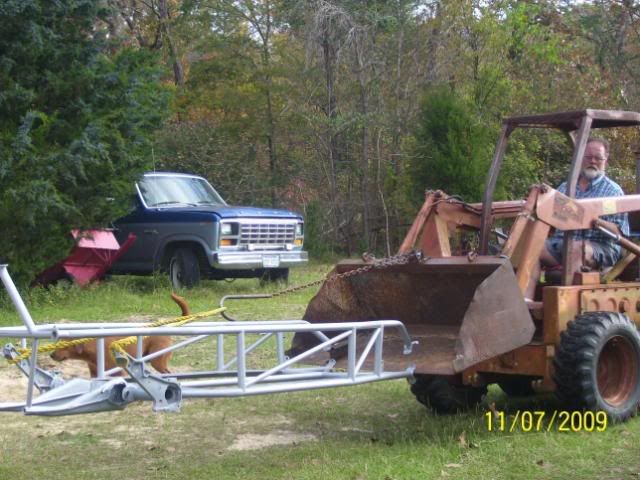
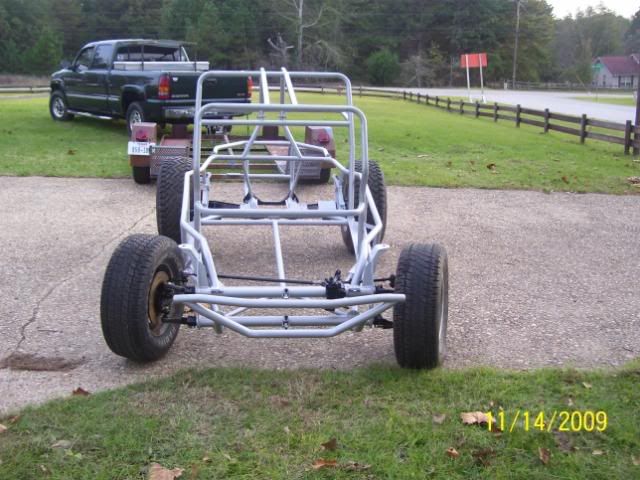
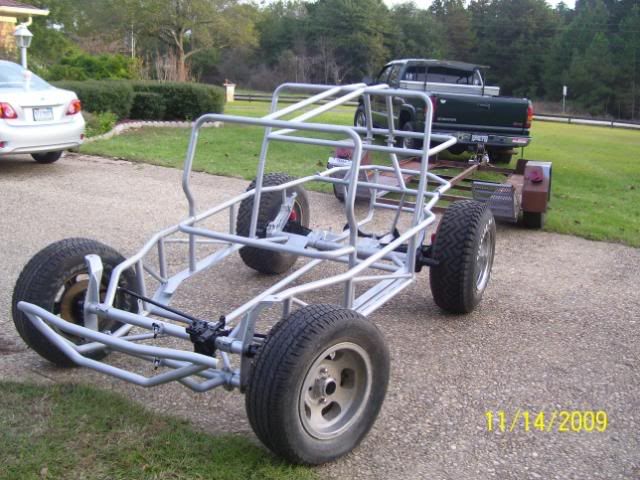
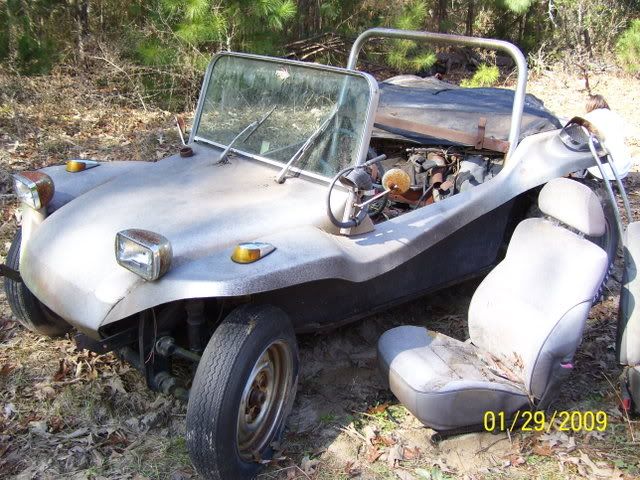
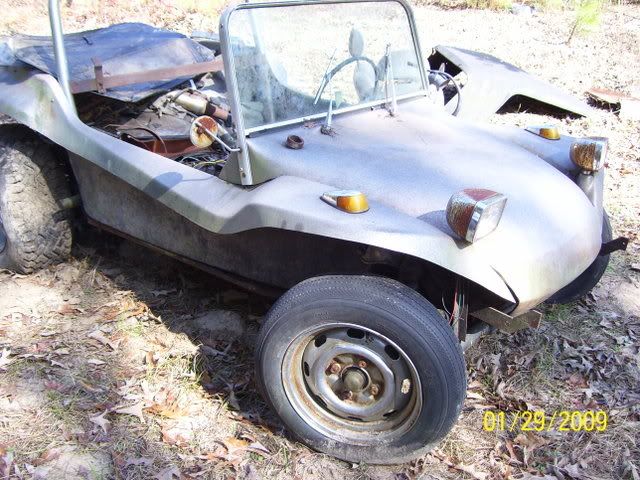
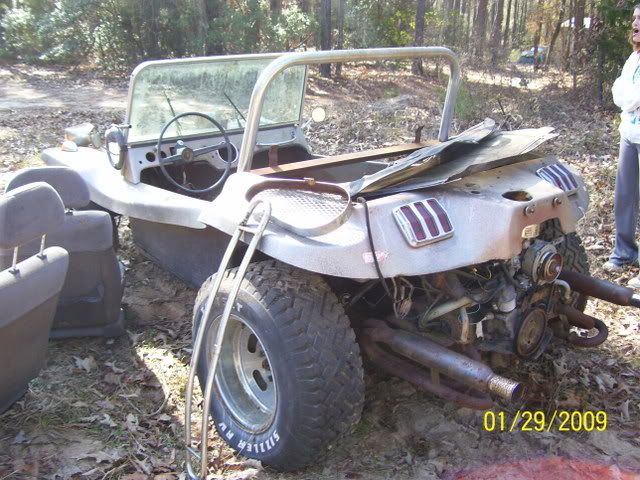
Got the wife a new project

Show us your project. In progress or finished!

Moderator: Ken

Got the wife a new project

Postby DannyT » 15 Sun Feb, 2009 2:00 pm

Drug this out of the woods around Palestine,Tx. a few weeks ago. Got it at a good price but didnt know if the thing would run. I was able to hook a battery up to it in the woods and it at least turned over(a good sign). Well, I got it home and cleaned up the garbage,finally got a few spare minutes and made it a mission to see if it would come to life. Well after rigging up a temporary gas tank and hitting it with a little starting fluid....it lives,idles,and surprising to me, didnt smoke like a mosquito truck. I will keep posting pics as we get along with it. The good thing is that she is very excited about having it and is eager to work on it. Why yesterday alone, she was in there scraping off the black mess that covers the center tunnel.
IN THE WOODS:
Image
Image
Image
Image

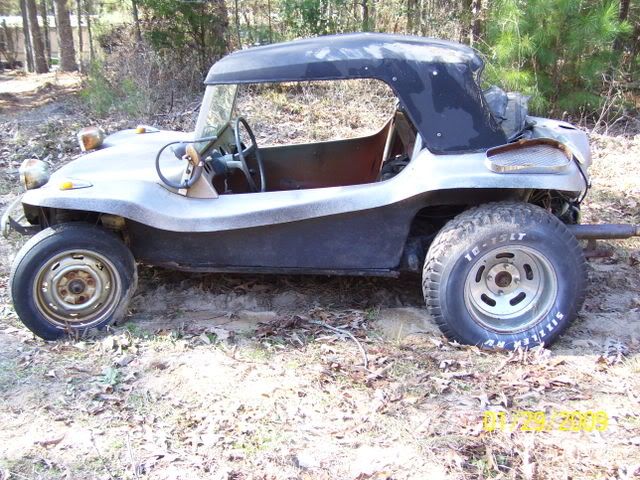
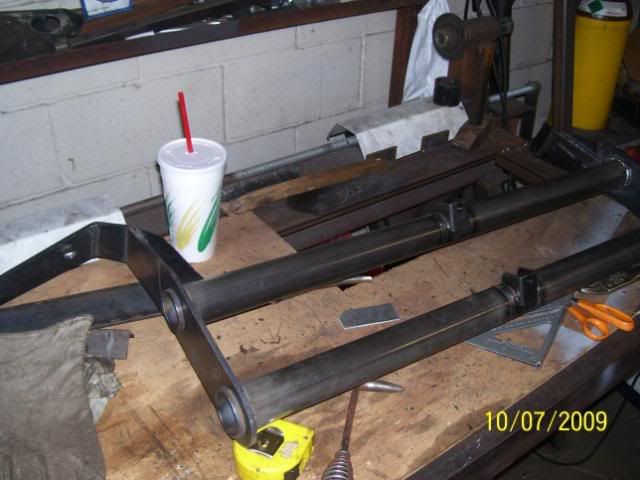
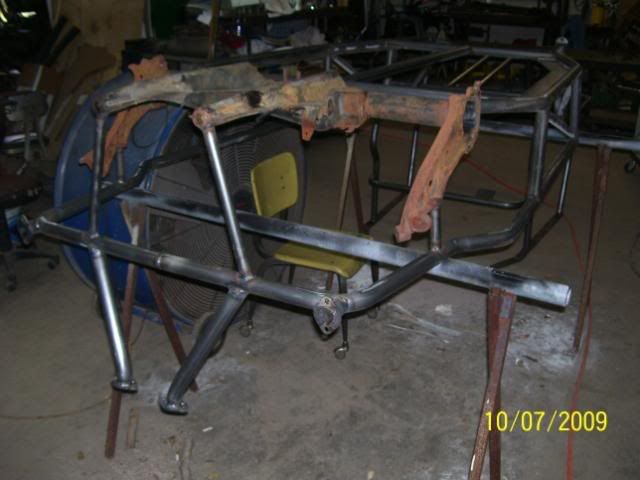
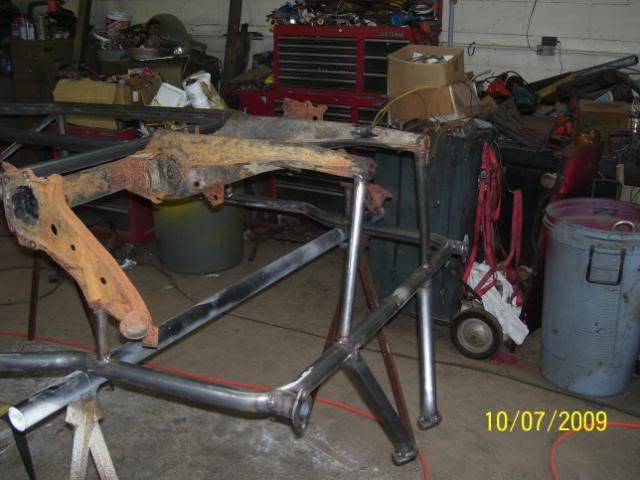
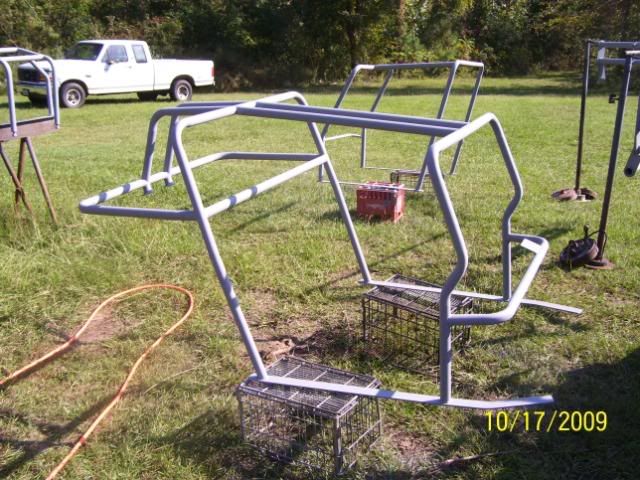
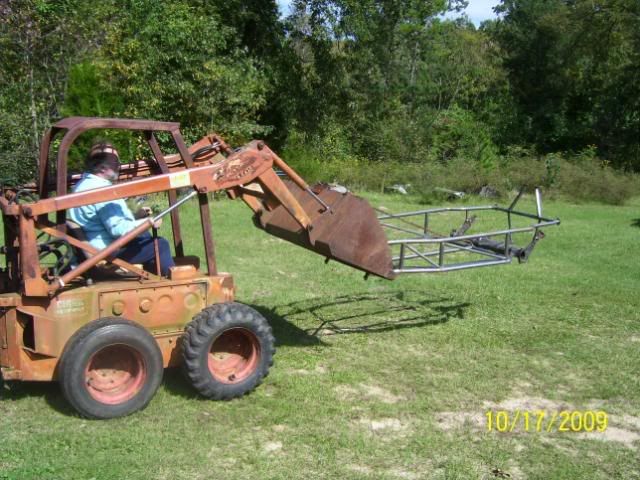
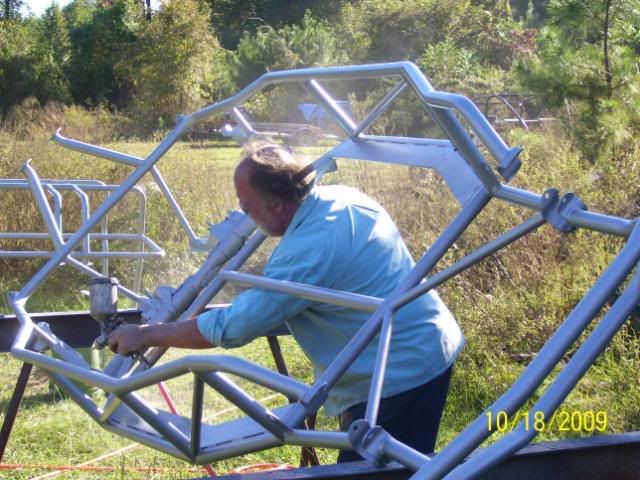
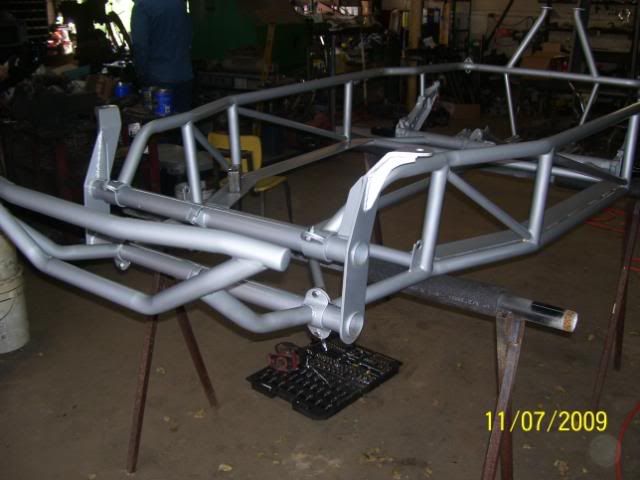
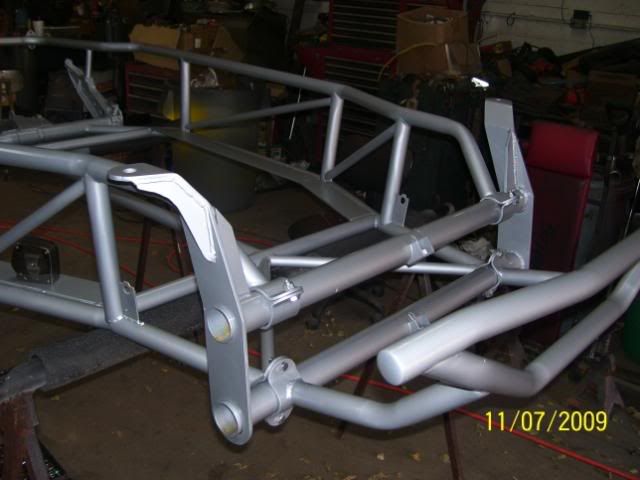
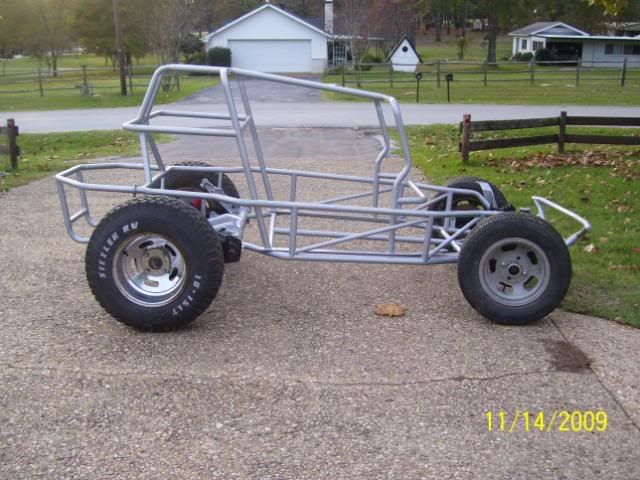
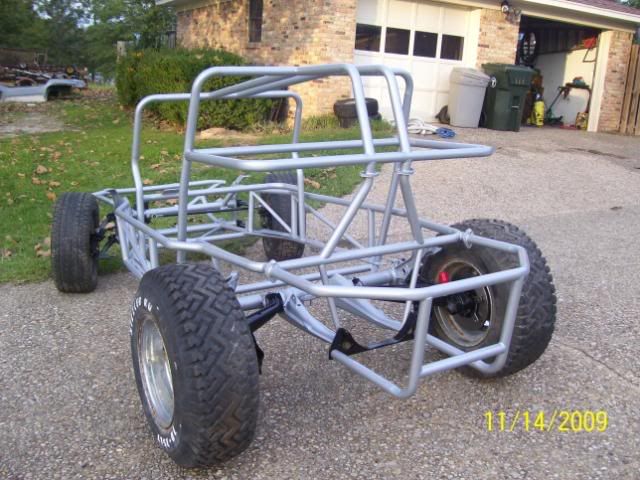
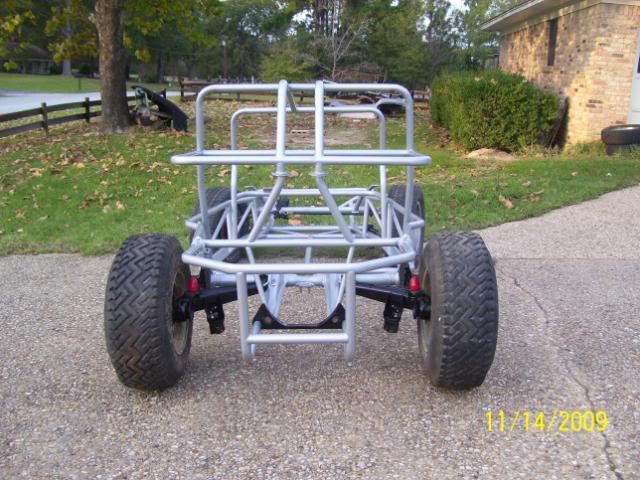
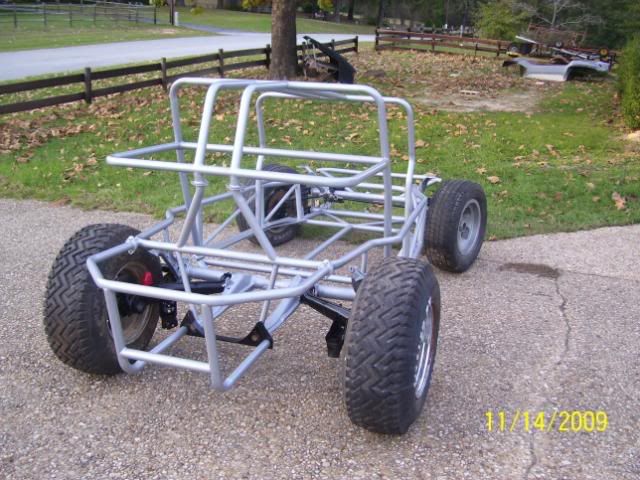
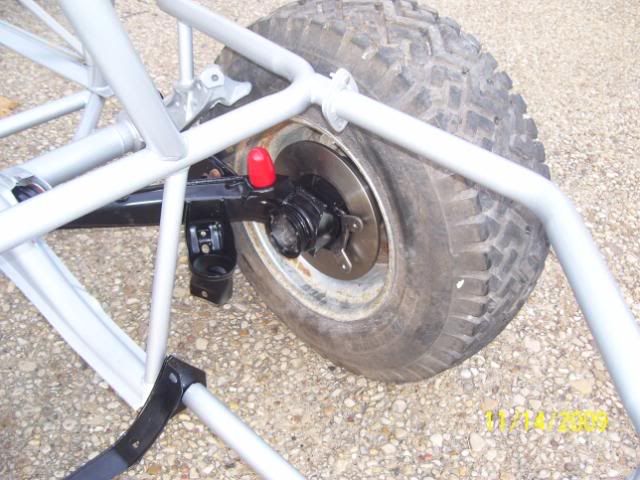
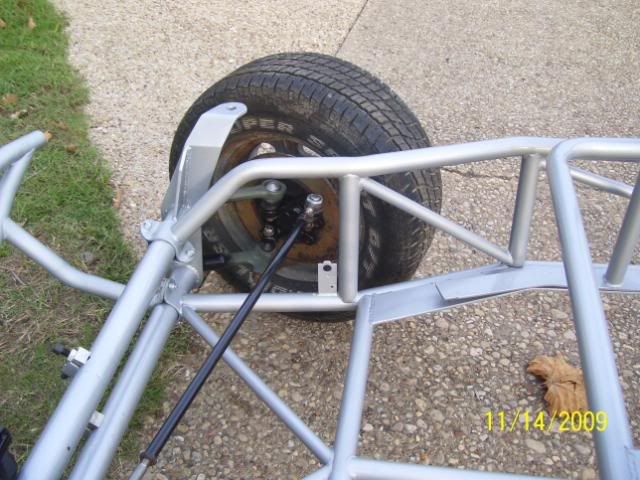
HOME AND CLEANED UP SOME:
Image
here is the link to more pics....
http://s12.photobucket.com/albums/a213/ ... y/?start=0

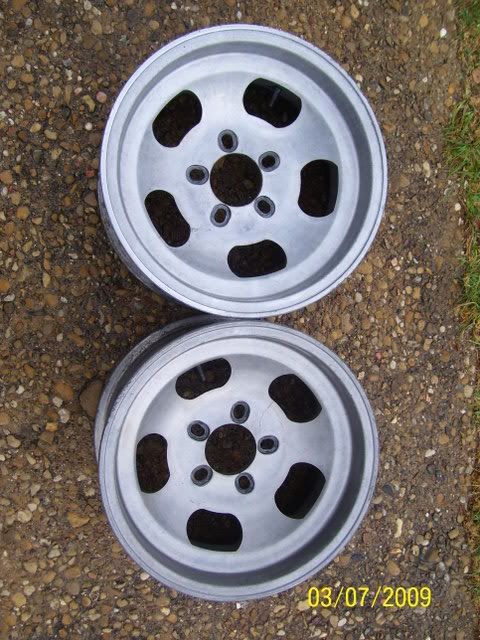
I have already located one set of wheel adapters,a second pair(thanks to Cory)and have already ordered a set of side pods from Texasbuggys.
DannyT
Buggy Nut
 
Posts: 90
Joined: 09 Mon Feb, 2009 10:59 am
Location: Tyler, Texas

Postby Aquabuggy » 15 Sun Feb, 2009 8:40 pm

Keep the pics coming, Im looking forward to watching your progress.
My name is Chris and well I'm a buggy-aholic

04 Aqua buggy - sold
72 Orange buggy - sold
72 Green longbody - aka Shrek http://texasmanxclub.com/bboard/viewtopic.php?t=1082
68 Manx - viewtopic.php?f=11&t=2509
User avatar
Aquabuggy
Buggyholic
 
Posts: 942
Joined: 02 Sun Oct, 2005 10:18 am
Location: Victoria Tx

Postby CoryN » 15 Sun Feb, 2009 8:46 pm

Me too - I hate to be the only one starting from a basket case.
CoryN
Buggyholic
 
Posts: 1108
Joined: 30 Wed Jan, 2008 12:11 pm
Location: McKinney, Texas

Postby Bill K » 15 Sun Feb, 2009 11:44 pm

Aquabuggy wrote:Keep the pics coming, Im looking forward to watching your progress.


Amen, keep the photos coming
Dream It - Plan It - Build It
User avatar
Bill K
Buggyholic
 
Posts: 2168
Joined: 06 Thu Oct, 2005 8:08 am

Postby DannyT » 07 Sat Mar, 2009 6:56 pm

Well, havent gotten very far lately. Seems we have had something going on every weekend. Well, we ordered a set of sidepods from Texasbuggys and Greyhound FINALLY decided they were tired of looking at them and put them on a bus north out of Houston yesterday. I know the day they were taken to the station.....good thing i wasnt waiting on them.(Greyhounds fault, NOT Texasbuggys,he notified me the day he took them there) Well, we went to the Auto Swap Meet at Canton today hoping to graba set of slots. Missed two complete sets at great prices but did bring home a set for the rear.
Image
And we were pleasantly surprised that Greyhound called before we made it back home and told us the pods were there. So needless to say...off to the bus station. Got home and immediatly she started unwrapping them and we mocked them into place. They look GREAT. I will have to do very little modifying to get them glassed in . Man what a difference they make.
Image
Image
DannyT
Buggy Nut
 
Posts: 90
Joined: 09 Mon Feb, 2009 10:59 am
Location: Tyler, Texas

Postby CoryN » 07 Sat Mar, 2009 8:24 pm

Looking good 8-)
CoryN
Buggyholic
 
Posts: 1108
Joined: 30 Wed Jan, 2008 12:11 pm
Location: McKinney, Texas

Postby DannyT » 14 Sun Jun, 2009 8:40 pm

Finally was able to get back on the buggy. Got the right side pod molded in(remembering why I hate fiberglass work).Took my time getting the pod and the body to flow and not look like it was added on. Still need to do some putty work and block sanding prior to overall primer.The left side is fitted but didnt get it glassed in. Got all of the holes from the PO putting snap buttons all around the back and sides. Reshaped the rear(PO was a hatchet job).Got one of the large holes on top of the engine area glassed in,started on the larger hole and decided to wait on it till I seperate the pan and body.As soon as I get the other pod on, I am going to schedule with Neil at Hawkeye and get a cage made for it. Cant wait!!
Image
Image
Image
DannyT
Buggy Nut
 
Posts: 90
Joined: 09 Mon Feb, 2009 10:59 am
Location: Tyler, Texas

Postby DannyT » 15 Mon Jun, 2009 7:24 pm

Just sent payment on these.....Now I have the skinny fronts I have been looking for.

Image
DannyT
Buggy Nut
 
Posts: 90
Joined: 09 Mon Feb, 2009 10:59 am
Location: Tyler, Texas

Postby Texasbuggys » 16 Tue Jun, 2009 7:16 am

Looking great, awesome job on the pod glassing!
Get your new short or long body, custom chassis, show cages, bumpers and accessories at http://www.texasbuggys.com

E-Mail Texasbuggys@suddenlink.net or call 361-218-6272
User avatar
Texasbuggys
Buggyholic
 
Posts: 1039
Joined: 01 Sat Oct, 2005 9:30 pm
Location: Victoria Texas

Postby DannyT » 16 Tue Jun, 2009 8:36 am

Yeah, I got those pods from some guy ;-) down around Victoria,Tx. I think they came out pretty good. I am not finished with them yet but am pleased with the transformation they made on it.
DannyT
Buggy Nut
 
Posts: 90
Joined: 09 Mon Feb, 2009 10:59 am
Location: Tyler, Texas

Postby DannyT » 08 Sat Aug, 2009 3:21 pm

Just a quick note. Wife has been out of town all week and I pulled her buggy into the garage and started on the drivers side pod. Pretty much have it attached and am in the process of smoothing everything out before adding the final body filler coat. I try to get as much of it in glass first then only use the filler to smooth and fill.
DannyT
Buggy Nut
 
Posts: 90
Joined: 09 Mon Feb, 2009 10:59 am
Location: Tyler, Texas

Postby DannyT » 19 Sat Sep, 2009 6:53 pm

UPDATE:
Well, we took the buggy out to Hawkeye Buggies today. We were only going to get the "show cage" but after talking in length with Neal,we are going full boat and getting a Hawkeye Buggies chassis put under it. For the safety aspect,the quality, and just Neal alone, couldnt say no. THANKS NEIL
DannyT
Buggy Nut
 
Posts: 90
Joined: 09 Mon Feb, 2009 10:59 am
Location: Tyler, Texas

Postby DannyT » 04 Sun Oct, 2009 9:21 pm

Some progress pics:

Image
Image
Image


Image
Image
Image
Image
DannyT
Buggy Nut
 
Posts: 90
Joined: 09 Mon Feb, 2009 10:59 am
Location: Tyler, Texas

Postby MURZ » 04 Sun Oct, 2009 10:08 pm

Hawkeye does some nice work!!! Really nice!!
Madisonville La
(Just north of where New Orleans used to be)

Dune buggies....Old men have to have something to excercise their minds and bodies
MURZ
Buggyholic
 
Posts: 342
Joined: 02 Sun Oct, 2005 10:06 pm
Location: Madisonville La.

Postby Aquabuggy » 05 Mon Oct, 2009 7:14 am

Way to go man looks good!
I would never fight with a 40yo rusty pan when for just a very few $$ more you can get a new custom tube chassis built.
My name is Chris and well I'm a buggy-aholic

04 Aqua buggy - sold
72 Orange buggy - sold
72 Green longbody - aka Shrek http://texasmanxclub.com/bboard/viewtopic.php?t=1082
68 Manx - viewtopic.php?f=11&t=2509
User avatar
Aquabuggy
Buggyholic
 
Posts: 942
Joined: 02 Sun Oct, 2005 10:18 am
Location: Victoria Tx

Postby Texasbuggys » 05 Mon Oct, 2009 12:41 pm

Looking great!!!
Get your new short or long body, custom chassis, show cages, bumpers and accessories at http://www.texasbuggys.com

E-Mail Texasbuggys@suddenlink.net or call 361-218-6272
User avatar
Texasbuggys
Buggyholic
 
Posts: 1039
Joined: 01 Sat Oct, 2005 9:30 pm
Location: Victoria Texas

Postby DannyT » 02 Mon Nov, 2009 9:50 pm

More pics. The chassis is welded up, painted metalic silver, and ready to start putting parts back together.

Wife want the buggy to have a smile, Neal came through with this front bumper
Image
Neal really worked with us on making the interior cage as safe as possible, my lovely wife and two kids will be riding in this one.
Image
Image
Check out this custom fabricated front end, I'm actually jealous my rail doesnt have this......yet.
Image
Now is that a chassis or what. Amazing work by Neal at Hawkeye Buggies
Image
Image
Image
Image
Image
Interior pieces in primer,hadnt had a paint gun in my hands in years
Image
Chassis transportation Hawkeye style
Image
Lower chassis in primer
Image
Image
I got the paint gun in my hand again and painted the chassis silver. By the time it came to get the clear on, i asked Neal if he would spray it, my arm was about to fall off.
Image
Image
Image
Image

Now what none of this shows is the time and care that Neal took in helping us get the safest chassis we could come up with and still retain the buggy stylings. He is great to work with and cant wait to get this on the road.
DannyT
Buggy Nut
 
Posts: 90
Joined: 09 Mon Feb, 2009 10:59 am
Location: Tyler, Texas

Postby BrianB » 03 Tue Nov, 2009 6:43 am

Those are some great photos. The cage is a piece of art. Keep the updates coming. Where is your respirator Danny :lol: :lol:
ThunderBug Buggy
BrianB
Buggyholic
 
Posts: 1010
Joined: 08 Tue Jan, 2008 9:49 am
Location: Katy Texas

Postby David Head » 03 Tue Nov, 2009 9:24 am

Now Brian. I seem to remember seeing a picture just yesterday of you sanding a fiberglass Buggy without a mask.
Or was that just a pose for the wife????? :-)

were all guilty......
Maroon Manx

(o\_!_/o)
David Head
Buggyholic
 
Posts: 456
Joined: 22 Thu Sep, 2005 8:37 pm
Location: East Texas

Postby BrianB » 03 Tue Nov, 2009 9:35 am

DOH!!!!!!!!!! Do as I say not as I do is the famous line to use here :lol:
ThunderBug Buggy
BrianB
Buggyholic
 
Posts: 1010
Joined: 08 Tue Jan, 2008 9:49 am
Location: Katy Texas

Postby David Head » 03 Tue Nov, 2009 12:32 pm

Lol. That's what my dad always use to say.
Maroon Manx

(o\_!_/o)
David Head
Buggyholic
 
Posts: 456
Joined: 22 Thu Sep, 2005 8:37 pm
Location: East Texas

Postby DannyT » 03 Tue Nov, 2009 5:42 pm

Guys, thats Neal spraying the clear on the chassis.
DannyT
Buggy Nut
 
Posts: 90
Joined: 09 Mon Feb, 2009 10:59 am
Location: Tyler, Texas

Postby blackthree4me » 03 Tue Nov, 2009 9:03 pm

verry nice and unique cage.
I love to see the old ones rebuilt to live again!
if it aint broke, break it then fix it
User avatar
blackthree4me
Buggyholic
 
Posts: 631
Joined: 12 Wed Oct, 2005 1:13 pm
Location: Spring TX

UPDATE NOV 7

Postby DannyT » 14 Sat Nov, 2009 8:34 pm

Well, it was another Saturday at Hawkeye Buggies. Our plan was to get it back on all four tires. We got a good start and wouldnt you know it. The supplier for the rear bearings sent Neal 12 of one and none of the other. So we went as far as we could and finished strippin out the front suspension on the old pan. I would be bringing all of that home and prepping it for installation Nov. 14.

Image
Image
Image
Image
Image
DannyT
Buggy Nut
 
Posts: 90
Joined: 09 Mon Feb, 2009 10:59 am
Location: Tyler, Texas

Postby DannyT » 14 Sat Nov, 2009 8:47 pm

New update: Look what followed me home today. Thanks to Neal and Doug. They both help me get it on all fours again and got to bring it home. We are going to set the body on it soon and have some more pics then. Still cant get over the cage Neal built for us and the front end Doug built. I will be getting one for my rail.
Image
Image
Image
Image
Image
Image
Image
Image
DannyT
Buggy Nut
 
Posts: 90
Joined: 09 Mon Feb, 2009 10:59 am
Location: Tyler, Texas

Postby Fred » 14 Sat Nov, 2009 9:39 pm

Danny, That really turned out great, Hope to cruise with y'all soon!!
One step forward, Two steps back!!
Fred
Buggy Nut
 
Posts: 120
Joined: 05 Mon Jan, 2009 7:55 pm
Location: Tyler TX

Postby DannyT » 14 Sat Nov, 2009 10:17 pm

It would be a pleasure Fred
DannyT
Buggy Nut
 
Posts: 90
Joined: 09 Mon Feb, 2009 10:59 am
Location: Tyler, Texas

Postby BrianB » 15 Sun Nov, 2009 10:25 am

It's looking good Danny. How hard will it be to put the body down into that tub now that you have the side pods molded in? Will you have to slot them out? Keep up the fight. I guess you and I are on about the same time table for completion :lol:
ThunderBug Buggy
BrianB
Buggyholic
 
Posts: 1010
Joined: 08 Tue Jan, 2008 9:49 am
Location: Katy Texas

Postby Mook » 15 Sun Nov, 2009 11:56 am

thats one gooood looking cage man
Mook
Buggy Nut
 
Posts: 73
Joined: 29 Mon Jun, 2009 12:48 pm
Location: Katy/West Houston

Postby DannyT » 15 Sun Nov, 2009 4:02 pm

Thanks Mook, the credit for the cage work goes to Neal at Hawkeye Buggies. He built it and I only cleaned up the raw chassis,primed,and painted it. Arm was worn out so Neal cleared it for me. Neal, Doug and I got the suspension put on it Saturday.

The pods will have to be slotted to slide over the cage. I have a few ideas i am going to look at to seal them up after its slipped down over it. There are some pics above with the body down on it, I will just have to come up with a way to finish it off.
DannyT
Buggy Nut
 
Posts: 90
Joined: 09 Mon Feb, 2009 10:59 am
Location: Tyler, Texas

Postby tx_1987_gta » 15 Sun Nov, 2009 11:08 pm

Its great to see it on its feet....
Thanks Joe

1965 VW Beetle Convert " Betty "
1967 VW Bathtub Buggy " Scrappy "
19-- VW Bathtub Buggy ( Project )
1981 Turbo Trans Am
1987 Trans Am GTA " Magic "
1989 20th Ann Turbo Trans Am " Charlotte "
tx_1987_gta
Buggy Nut
 
Posts: 86
Joined: 06 Thu Aug, 2009 8:05 pm
Location: Amarillo, Texas

Postby DannyT » 25 Wed Nov, 2009 4:20 pm

Well, eventhough I am off for the Thanksgiving holiday out of town, still got buggy on the brain. There is a Auto U-pull-it here and they were open today. I needed a pair of rear calipers from a Mits. Eclipse or Eagle Talon. Brother-in-law and I went down and must have been my day, they had both an Eclipse and Talon, both with rear calipers on. Well, $6 each and they will be coming back to Texas with me. For that price, i couldnt leave them in Louisiana
DannyT
Buggy Nut
 
Posts: 90
Joined: 09 Mon Feb, 2009 10:59 am
Location: Tyler, Texas


Return to Member's Projects

Who is online

Users browsing this forum: No registered users and 107 guests