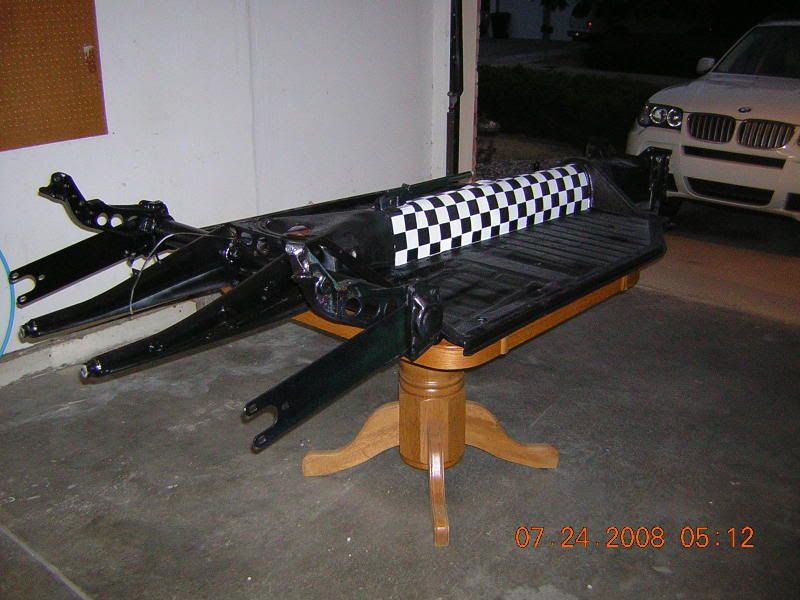
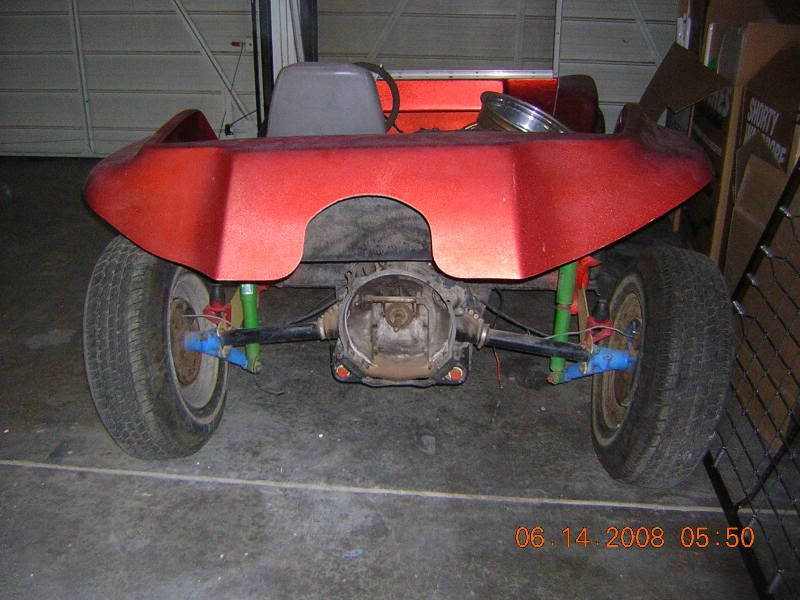
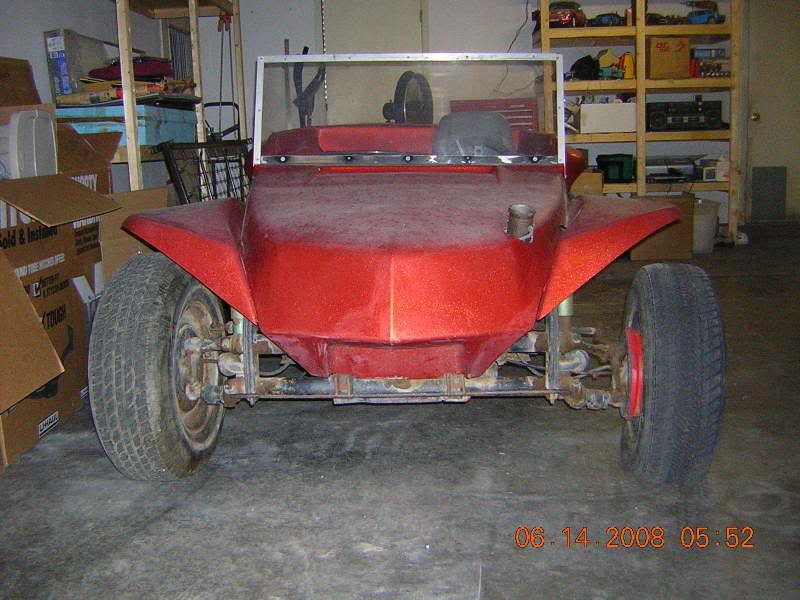
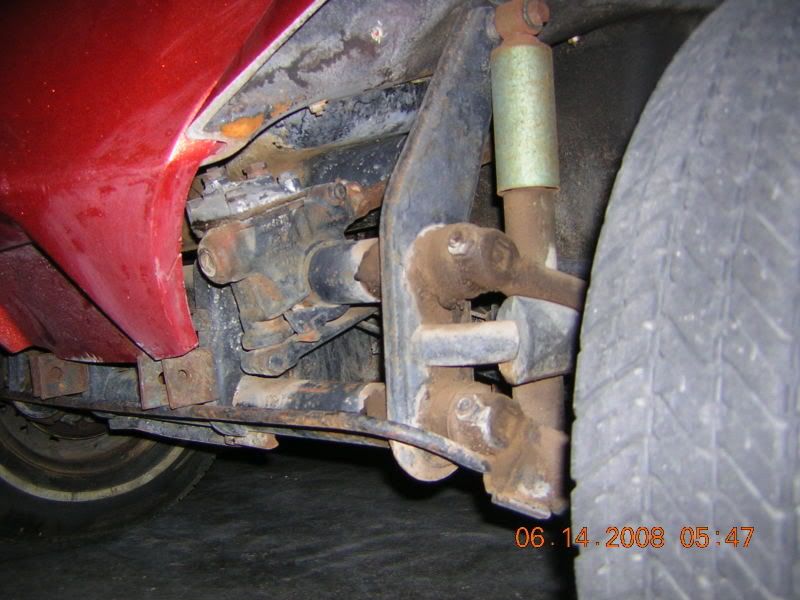
Faron's Street Buggy Build

Show us your project. In progress or finished!

Moderator: Ken

Faron's Street Buggy Build

Postby Faron » 20 Fri Jun, 2008 12:21 am

I like this buggy more then the my first Buggy with the Big Butt! (Sorry Bill!)
Image
Here she is...
Image
Different Front End
Image
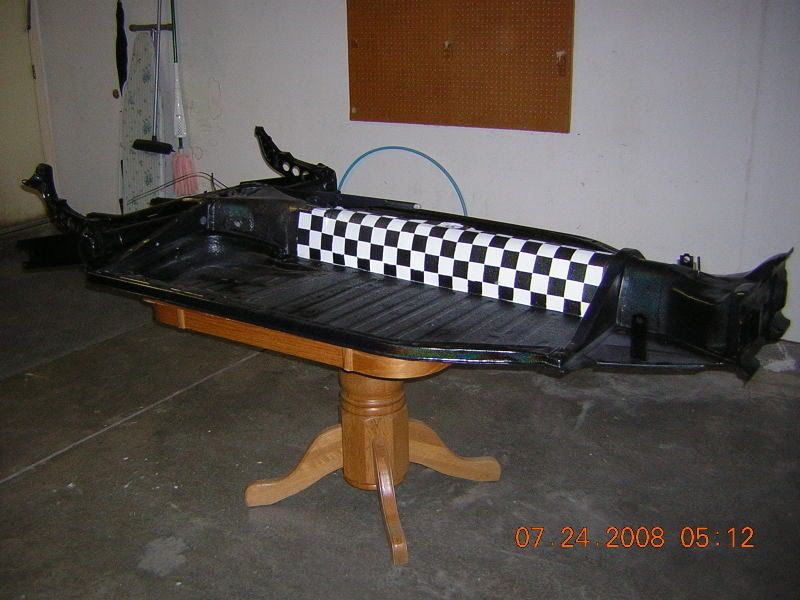
See look at that.. much better looking then the last one I had!
Image
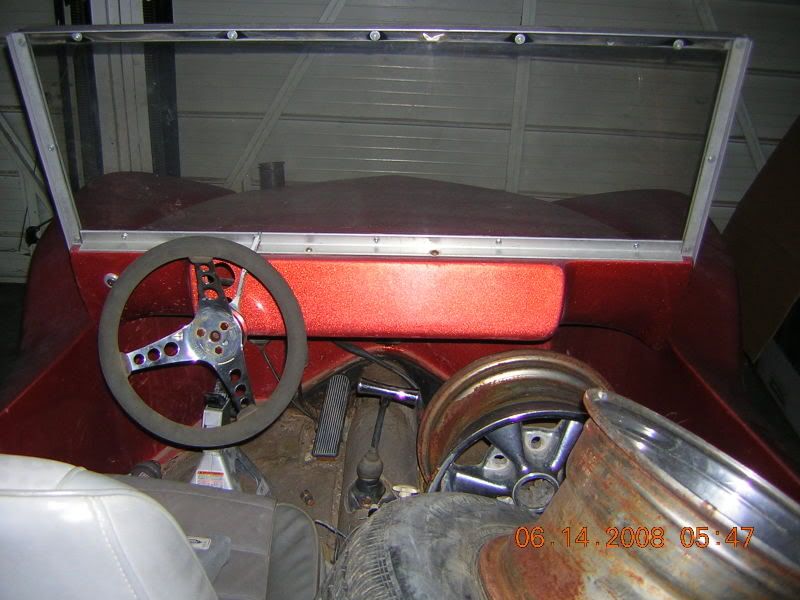
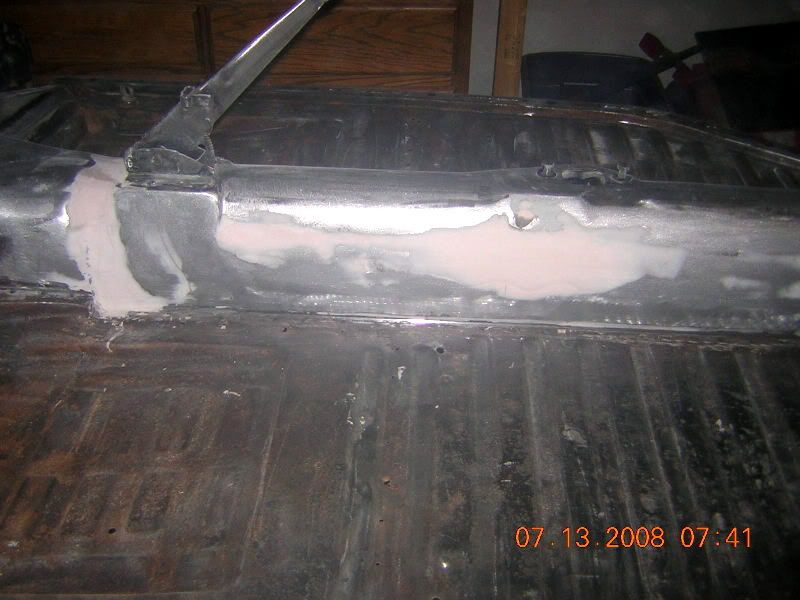
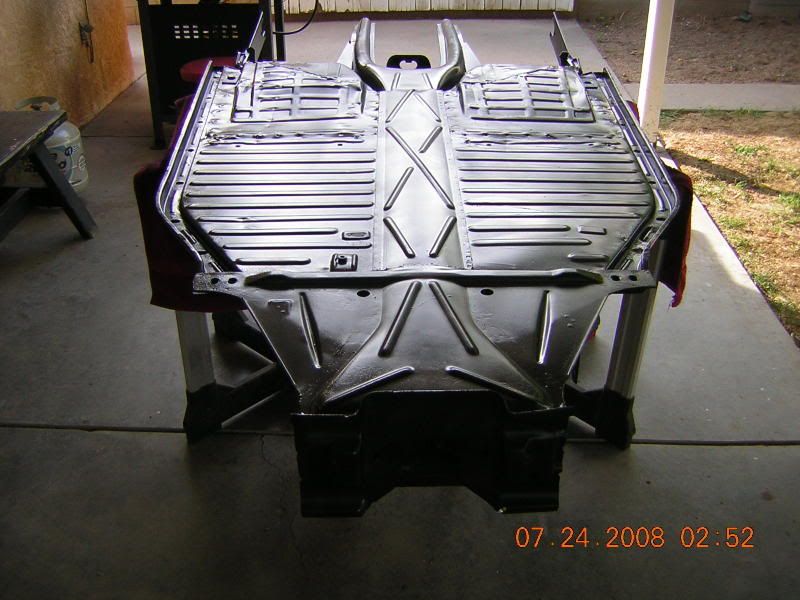
Look at that dash very few holes to fill. But I have got to buy a new windshield and frame from one of our GREAT Sponsors!
Image
Image
Image
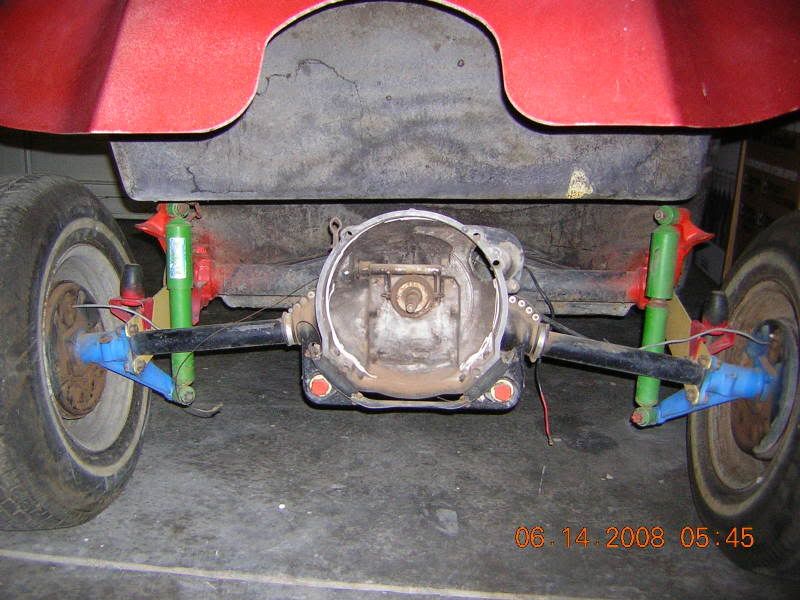
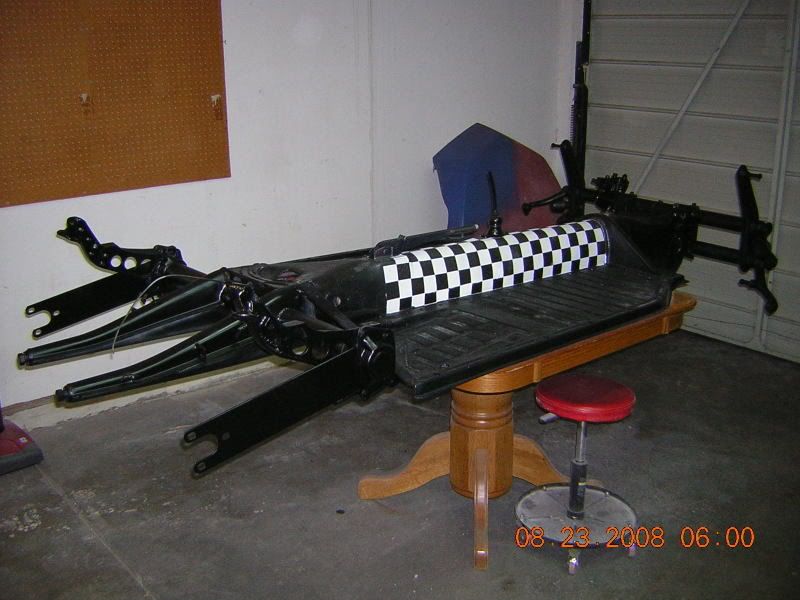
This is everything, what do you think...I bought it for $450.00 Do you think I got a good deal?
Get out there and enjoy your Dune Buggy! www.savethetexasdunebuggy.com faron@savethetexasdunebuggy.com
Faron
Buggyholic
 
Posts: 867
Joined: 04 Tue Oct, 2005 10:20 pm
Location: Canyon Lake, Texas

Postby CoryN » 20 Fri Jun, 2008 7:59 am

Gotta like the Klown Kolors in that last pic.

Looks like a good deal to me. 8-)
CoryN
Buggyholic
 
Posts: 1108
Joined: 30 Wed Jan, 2008 12:11 pm
Location: McKinney, Texas

Postby Vee Dub Nut » 20 Fri Jun, 2008 8:15 am

looks like you got a good deal...

You have a lot of the parts you need.. just spend your time rebuilding and refurbishing them. Its a little more work, but IMO more rewarding than just strictly buying new stuff
Fightin' Texas Aggie Class of 2006

1967 Beetle
19?? Buggy (Someday hopefully... unless I sell it too LOL)
2000 GTi
Vee Dub Nut
Buggyholic
 
Posts: 281
Joined: 17 Mon Mar, 2008 6:21 pm
Location: San Antonio, Tx

Postby Aquabuggy » 20 Fri Jun, 2008 3:14 pm

Looks like a great start!
My name is Chris and well I'm a buggy-aholic

04 Aqua buggy - sold
72 Orange buggy - sold
72 Green longbody - aka Shrek http://texasmanxclub.com/bboard/viewtopic.php?t=1082
68 Manx - viewtopic.php?f=11&t=2509
User avatar
Aquabuggy
Buggyholic
 
Posts: 942
Joined: 02 Sun Oct, 2005 10:18 am
Location: Victoria Tx

Postby buggyryan » 20 Fri Jun, 2008 7:54 pm

cool faron glad to see your back in the thick of things buddy. it has a periscope tank like mine used to but i filled the hole
buggyryan
Buggy Nut
 
Posts: 145
Joined: 16 Thu Feb, 2006 4:40 pm

Postby blackthree4me » 21 Sat Jun, 2008 11:30 am

looks like a never run body no holes
a pre 67 with the link pin beam and swing axil trans
lets have a look at that pan shorten section area.
good deal?
the body is worth that the rest are freebes you might
or might not use.

start cleaning the bad boy up
if it aint broke, break it then fix it
User avatar
blackthree4me
Buggyholic
 
Posts: 631
Joined: 12 Wed Oct, 2005 1:13 pm
Location: Spring TX

Postby ElijahTurtle » 21 Sat Jun, 2008 10:27 pm

I'm diggin the front of the hood! That's sweet!
ElijahTurtle
Buggy Nut
 
Posts: 70
Joined: 16 Mon Jun, 2008 9:08 pm
Location: Watauga, TX

Postby Faron » 13 Sun Jul, 2008 11:47 pm

Image
This is the bottom

Image
Here is the other side

Image
This is one side of top

Image
And the other side

Image
Before paint

Image
I am really looking forward to seeing some change!
Get out there and enjoy your Dune Buggy! www.savethetexasdunebuggy.com faron@savethetexasdunebuggy.com
Faron
Buggyholic
 
Posts: 867
Joined: 04 Tue Oct, 2005 10:20 pm
Location: Canyon Lake, Texas

Postby blackthree4me » 14 Mon Jul, 2008 8:30 am

now is the time to put in those
seatbelt brackets attachment points
roll bar mounts
run fuel and brakelines thru the tunnel.
looking good
blackthree4me
if it aint broke, break it then fix it
User avatar
blackthree4me
Buggyholic
 
Posts: 631
Joined: 12 Wed Oct, 2005 1:13 pm
Location: Spring TX

Postby Texasbuggys » 14 Mon Jul, 2008 10:33 pm

looks almost done :)
Get your new short or long body, custom chassis, show cages, bumpers and accessories at http://www.texasbuggys.com

E-Mail Texasbuggys@suddenlink.net or call 361-218-6272
User avatar
Texasbuggys
Buggyholic
 
Posts: 1039
Joined: 01 Sat Oct, 2005 9:30 pm
Location: Victoria Texas

Postby Faron » 19 Sat Jul, 2008 10:24 pm

I did a little work on my chassis and it is about ready to have primer sprayed on it. Then parts will be painted Black and the rest will get Hercalined. I am still not posative what the color the body will be so that is why I am using Black rather then Silver again.
Image
Image
Image
Image
Image
Image
Get out there and enjoy your Dune Buggy! www.savethetexasdunebuggy.com faron@savethetexasdunebuggy.com
Faron
Buggyholic
 
Posts: 867
Joined: 04 Tue Oct, 2005 10:20 pm
Location: Canyon Lake, Texas

Postby Faron » 30 Wed Jul, 2008 12:03 am

I wanted to show that I have not fell down on my Buggy build. I used paint on everything, and then I used Roll on Bed Liner on the pans. I couldn't let it be Just Black so I had to add some checkers. OK I will be honest...I am going to have a ton of checkers on this Buggy!

Image
Image
Image
Get out there and enjoy your Dune Buggy! www.savethetexasdunebuggy.com faron@savethetexasdunebuggy.com
Faron
Buggyholic
 
Posts: 867
Joined: 04 Tue Oct, 2005 10:20 pm
Location: Canyon Lake, Texas

Postby Aquabuggy » 30 Wed Jul, 2008 6:53 am

Looking good!
Thats a nice stand you have your pan sitting on! :D :lol:
My name is Chris and well I'm a buggy-aholic

04 Aqua buggy - sold
72 Orange buggy - sold
72 Green longbody - aka Shrek http://texasmanxclub.com/bboard/viewtopic.php?t=1082
68 Manx - viewtopic.php?f=11&t=2509
User avatar
Aquabuggy
Buggyholic
 
Posts: 942
Joined: 02 Sun Oct, 2005 10:18 am
Location: Victoria Tx

Postby Vee Dub Nut » 30 Wed Jul, 2008 7:45 am

Looking great!
Fightin' Texas Aggie Class of 2006

1967 Beetle
19?? Buggy (Someday hopefully... unless I sell it too LOL)
2000 GTi
Vee Dub Nut
Buggyholic
 
Posts: 281
Joined: 17 Mon Mar, 2008 6:21 pm
Location: San Antonio, Tx

Postby Faron » 30 Wed Jul, 2008 11:48 pm

Aquabuggy wrote:Looking good!
Thats a nice stand you have your pan sitting on! :D :lol:


It started life as our kitchen table, then it became a computer desk, after that it became a what are we going to do with that table......Now it is a work bench HaHaHa

But you are correct it was a very nice table...SIGH
Get out there and enjoy your Dune Buggy! www.savethetexasdunebuggy.com faron@savethetexasdunebuggy.com
Faron
Buggyholic
 
Posts: 867
Joined: 04 Tue Oct, 2005 10:20 pm
Location: Canyon Lake, Texas

Postby Aquabuggy » 31 Thu Jul, 2008 6:55 am

Faron wrote:
Aquabuggy wrote:Looking good!
Thats a nice stand you have your pan sitting on! :D :lol:


It started life as our kitchen table, then it became a computer desk, after that it became a what are we going to do with that table......Now it is a work bench HaHaHa

But you are correct it was a very nice table...SIGH


Hey nothing wrong with recycling, Tree hugger :lol: :lol:

Keep the updates coming
My name is Chris and well I'm a buggy-aholic

04 Aqua buggy - sold
72 Orange buggy - sold
72 Green longbody - aka Shrek http://texasmanxclub.com/bboard/viewtopic.php?t=1082
68 Manx - viewtopic.php?f=11&t=2509
User avatar
Aquabuggy
Buggyholic
 
Posts: 942
Joined: 02 Sun Oct, 2005 10:18 am
Location: Victoria Tx

Updates!

Postby Faron » 28 Thu Aug, 2008 10:47 pm

Well it does not look like I have done much at this point. I sanded down and painted everything you see here. I wish I had more progress, but I am building it as money permits.
Image
Image
This is what the hood looked like when I started. I know that I have posted this photo before, but it shows the starting point.
Image
I filled in the HUGE holes that were cut for the gas tube by the PO. I plan to buy a new gas tank rather then use the old one. Anyone know where I can buy a Gas Tank with the Fill Tube in the center? Humm is that a hint of the color that I plan to paint my Buggy? Hmmmmm
Image
Get out there and enjoy your Dune Buggy! www.savethetexasdunebuggy.com faron@savethetexasdunebuggy.com
Faron
Buggyholic
 
Posts: 867
Joined: 04 Tue Oct, 2005 10:20 pm
Location: Canyon Lake, Texas

Postby Faron » 28 Thu Aug, 2008 11:02 pm

This is what I started with on the front end. I am not a huge fan of front License Plates, I guess that I am lucky that here in New Mexico I will not get a ticket for not having one.
Image
I sprayed Great Stuff spray foam to use as filler. It worked GREAT! This is what it looked like when I started.
Image
This is what the foam looks like after I shaped it with a huge knife.
Image
This is what it looked like after I put the fiberglass and bondo over the foam. Dont get me wrong..I know I am not finished. I just wanted to show that I am not slacking...HaHaHa
Image
Image
Get out there and enjoy your Dune Buggy! www.savethetexasdunebuggy.com faron@savethetexasdunebuggy.com
Faron
Buggyholic
 
Posts: 867
Joined: 04 Tue Oct, 2005 10:20 pm
Location: Canyon Lake, Texas

Postby Aquabuggy » 01 Mon Sep, 2008 1:53 pm

Im liking what I see there Faron. You actually painted the checker board on :shock: Im just way too lazy to do that kinda detail. Nice job slacker :lol: :lol: :lol:
My name is Chris and well I'm a buggy-aholic

04 Aqua buggy - sold
72 Orange buggy - sold
72 Green longbody - aka Shrek http://texasmanxclub.com/bboard/viewtopic.php?t=1082
68 Manx - viewtopic.php?f=11&t=2509
User avatar
Aquabuggy
Buggyholic
 
Posts: 942
Joined: 02 Sun Oct, 2005 10:18 am
Location: Victoria Tx

Postby Faron » 01 Mon Sep, 2008 10:01 pm

Yea I have plenty of time for detail like this. I have to save up some money before I do anything else.

By the way Thanks! :D
Get out there and enjoy your Dune Buggy! www.savethetexasdunebuggy.com faron@savethetexasdunebuggy.com
Faron
Buggyholic
 
Posts: 867
Joined: 04 Tue Oct, 2005 10:20 pm
Location: Canyon Lake, Texas


Return to Member's Projects

Who is online

Users browsing this forum: No registered users and 37 guests